3D Printer
Prusa i3 MK3S
Overview
For this week assignment, we have a team assignment in which we need to characterize our Prusa i3 MK3S plus an individual assignment in which we need to make a 3*3*3 cm Design.
Let's start as usual with My Objective For this project:
- Learn how to deal with our Prusa and be able to operate it by my own
- learn how to characterize any 3D Printer
- learn how to work with Cura
My Plan:
Step (1): learn how to characterize any 3D Printer "Finishing Team assignments with Magdy"
Step (2): Learn more about Cura.
Step (3): Creating my 3D design.
The Process
Step 1: Charactrize our Prusa i3 MK3S with All-in-one TEST
I started similar to my previous project search in the work of previous fab-academy students. I found their work very informative and save me a lot of time.
I advise you to do the same you can find down below the links to my favorite fab-academy students
I create an initial idea about the steps and tests me and Magdy should do then we have a meeting and discuss our steps and came up with this simple plan
- (Know Your Machine!) Features, Work instructions, Materials
- All-In-one Test overhang test, bridging test, stringing test, sharp-corner test, tolerance test, and scale test
Our Machine
The 3D printer we used in fablab is Prusa i3 MK3S.
you can find all its features, instruction and how to operate it HERE

- Prusa i3 MK3S

- overhang test, bridging test, stringing test, sharp-corner test, tolerance test, and scale test
Tests
1- Pre-printed Prusa calibration
Before we start printting, we need to make sure everything is working fine such as Fan, Bed, Nozzle, Temperature.
we found this amazing step by step tutorials by Josef Prusa.
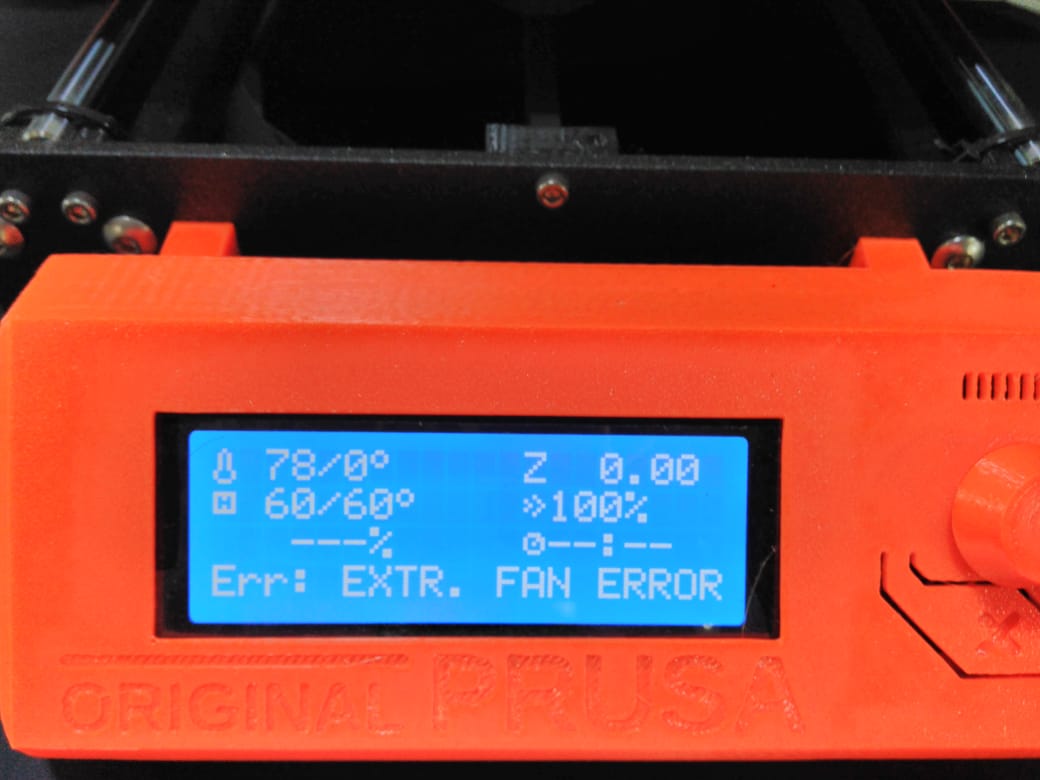
- Just start and we have this fan error !!!!!
- We try to fix it and at the end, we found there is a plastic shredder inside the fan that prevent it from moving
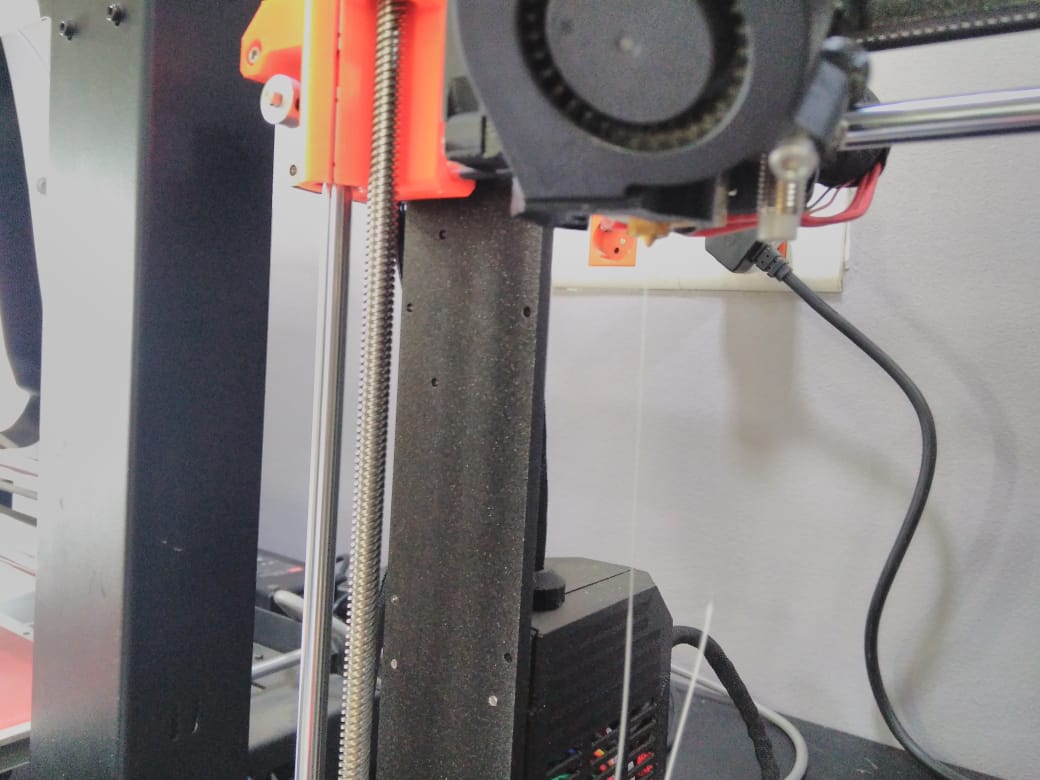
- Now everything is fine and we can start our test
2- All-In-Test
We found this link on Thingiverse after reading the description we found that he create a modified micro part and we decide to use it HERE
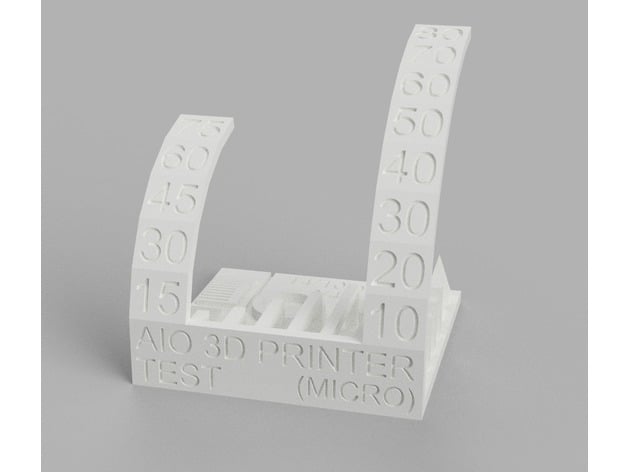

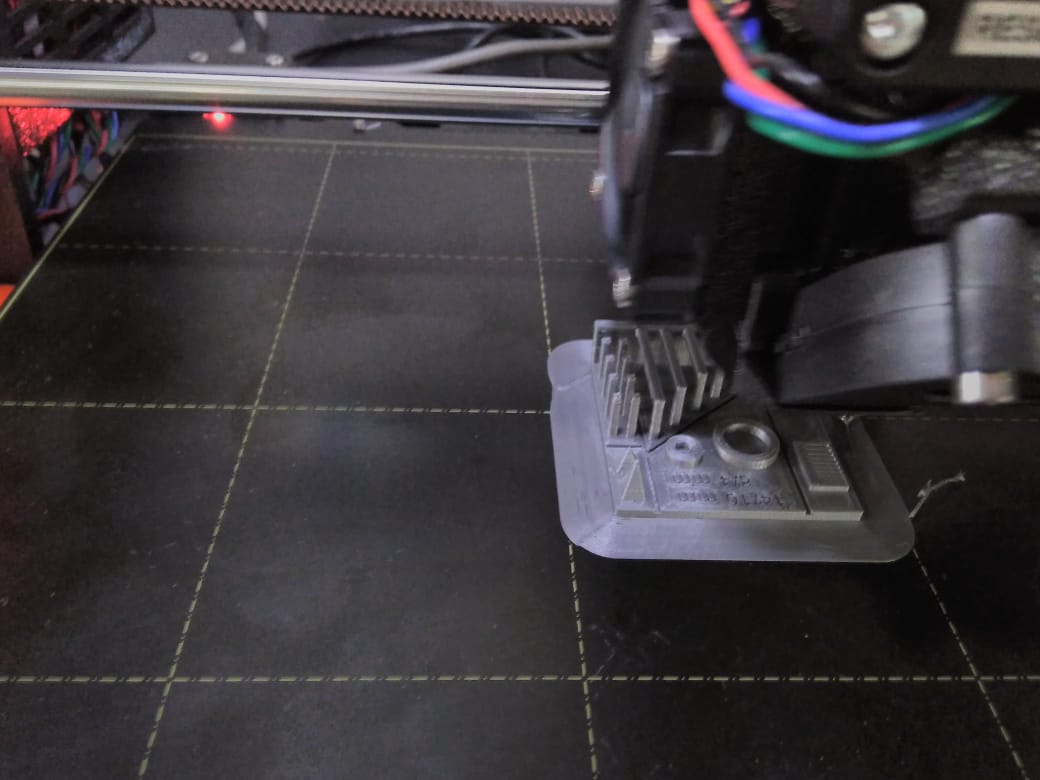
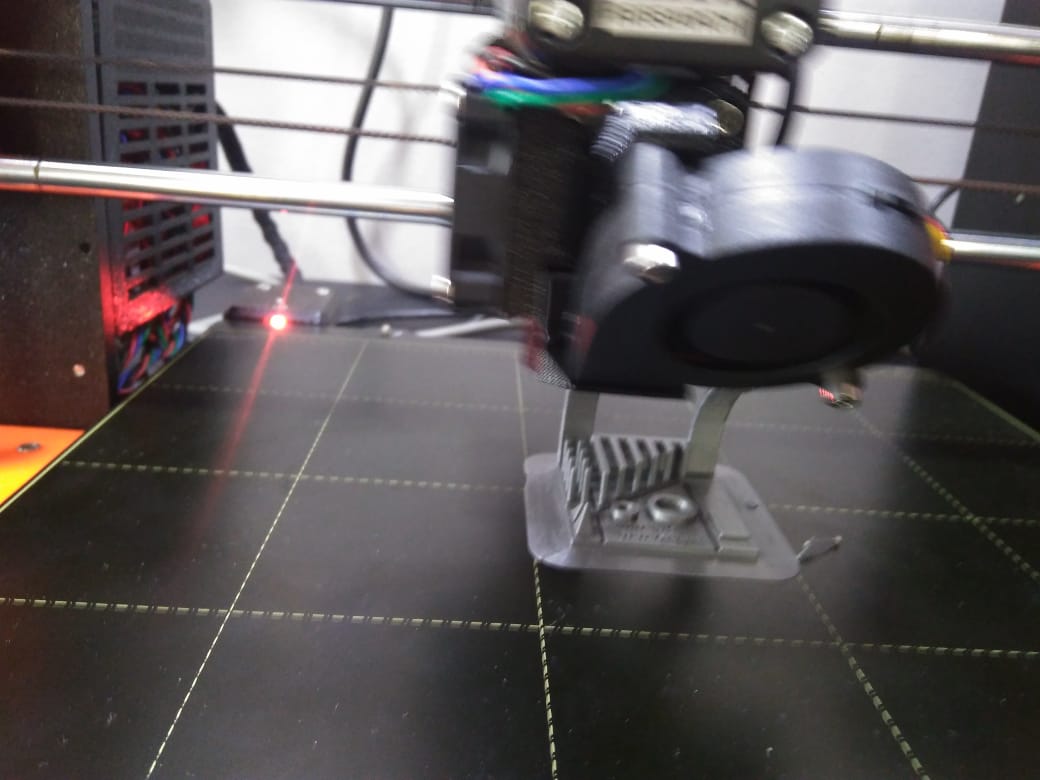
- Prusa work on our test
Step 2: Our test observation
At the beginning we understand what every test talks about and what parameters we should take into our consideration from here
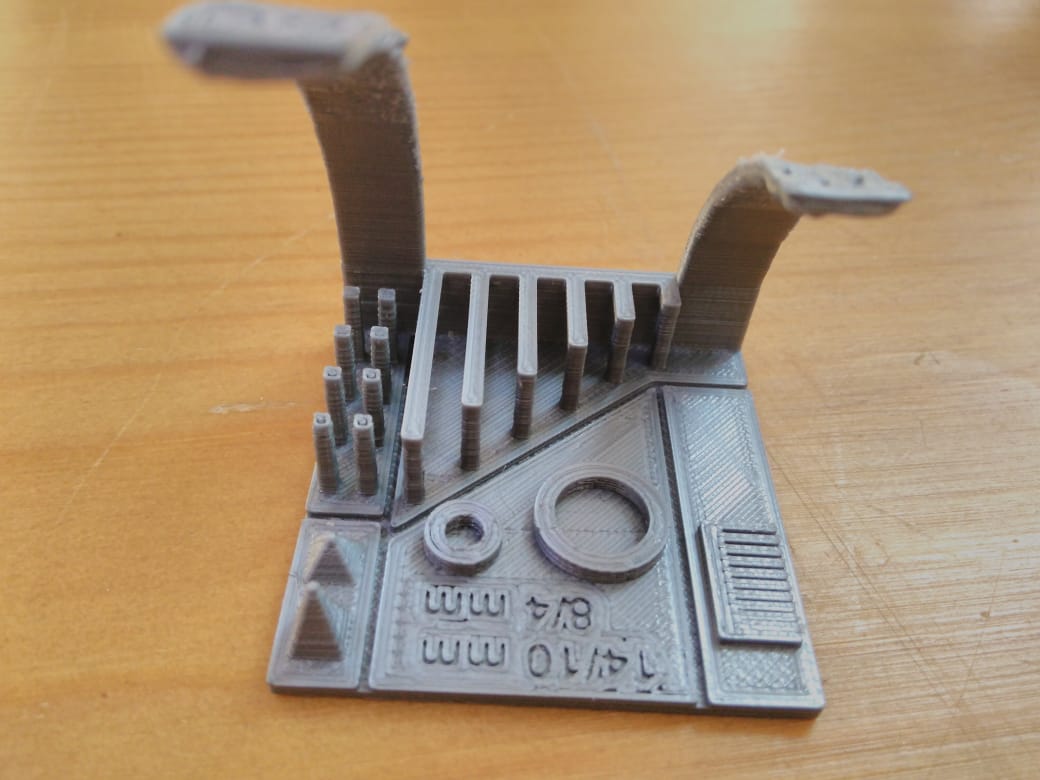
- Bridging test we found that Prusa can easily handle this test, but make sure that the setting is 0.1 layer height, speed 60 and temperature 215.
- Stringing test and Sharp-corner came out nicely.
- Tolerance test the measurement we get are consistently different than the actual then this indicates that the nozzle of the 3D printer is wearing out, so we decide to make another more accurate one.
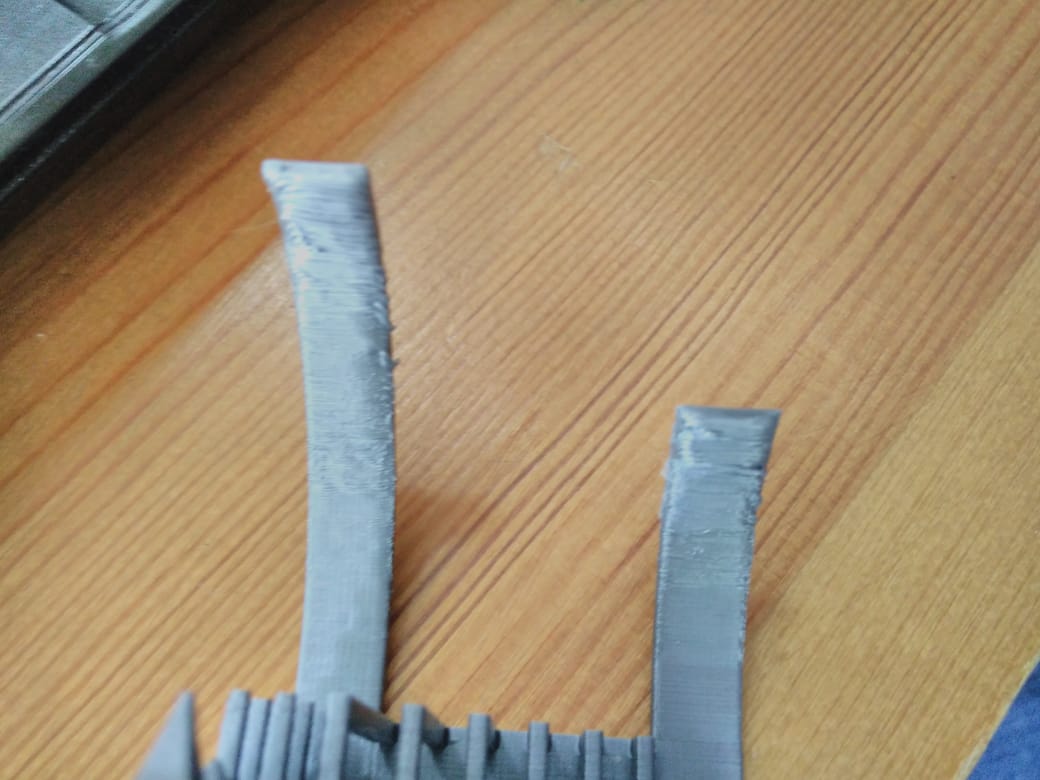
- Overhang test we found that Prusa can easily handle printing up to a 45 degree overhang without any support.
Step 3: Creating my design
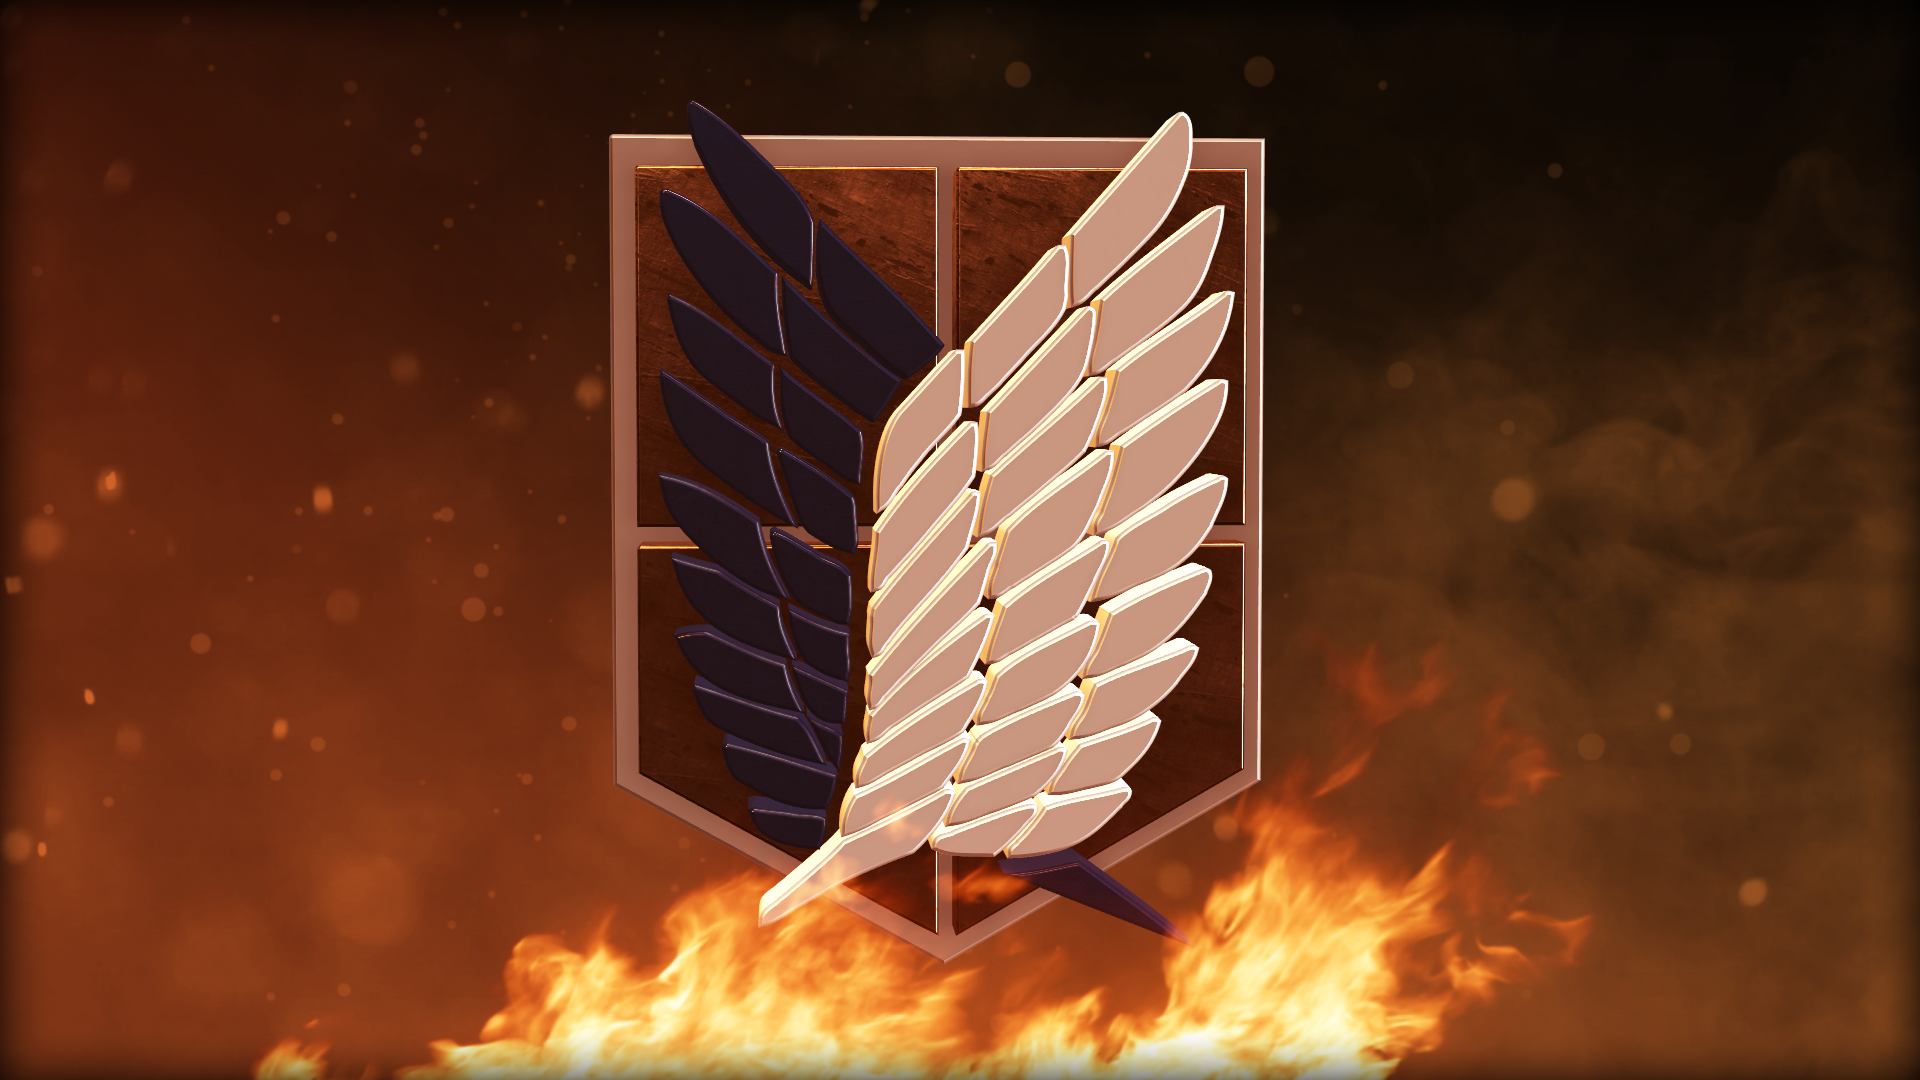
I want to print The Wing of freedom from Attack on Titans.
進撃の巨人

I found the deisgn on Thingiverse and I used Cura to print it out.
As a beginner in Cura I found this tutorial very helpful.
Design Steps
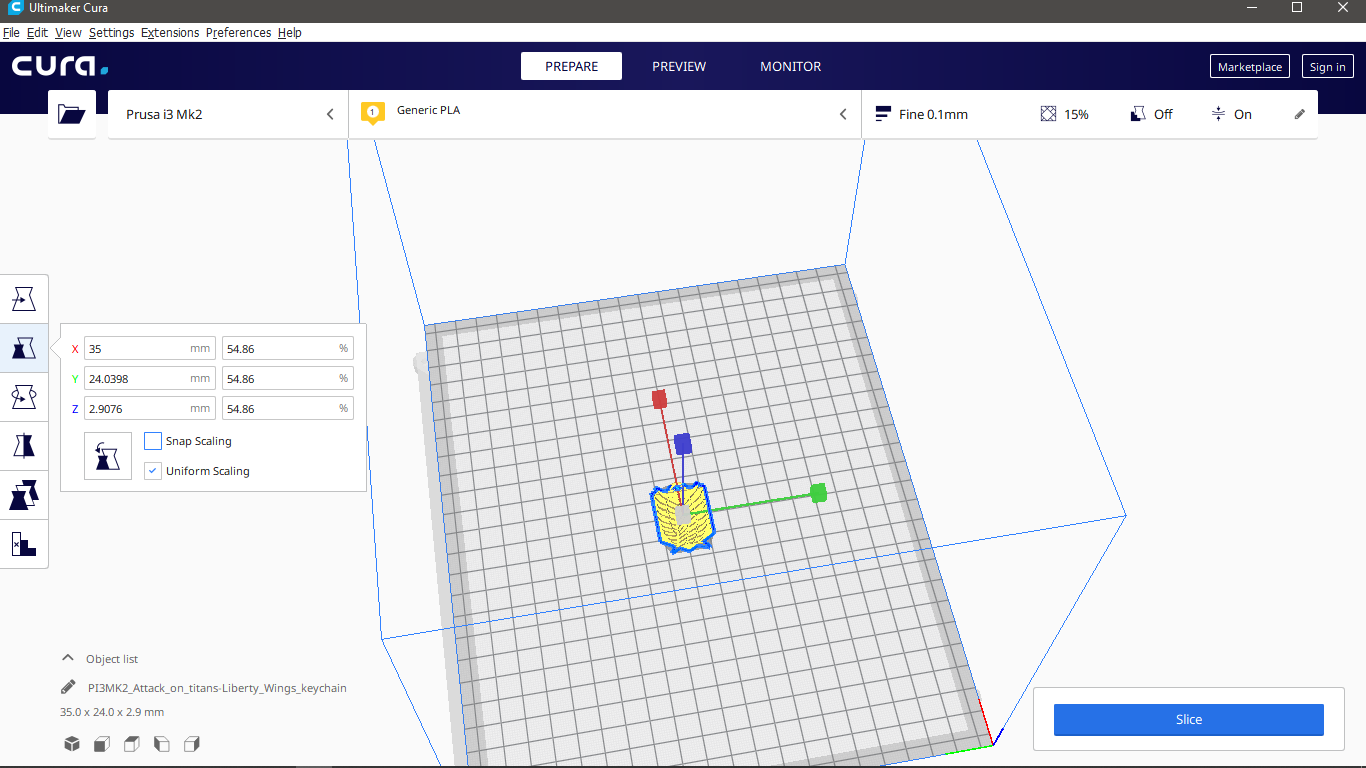
- Open Cura
- Add our design
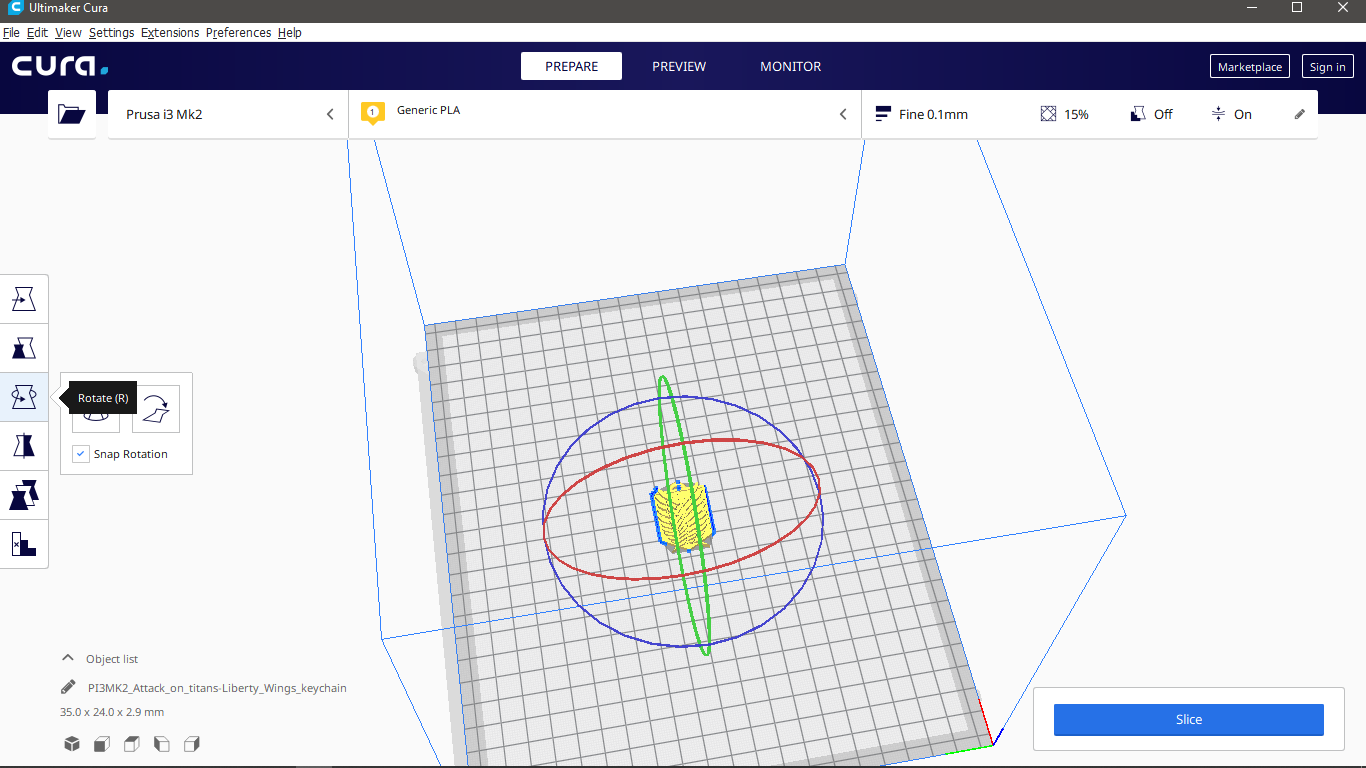
- Scale Adjustment
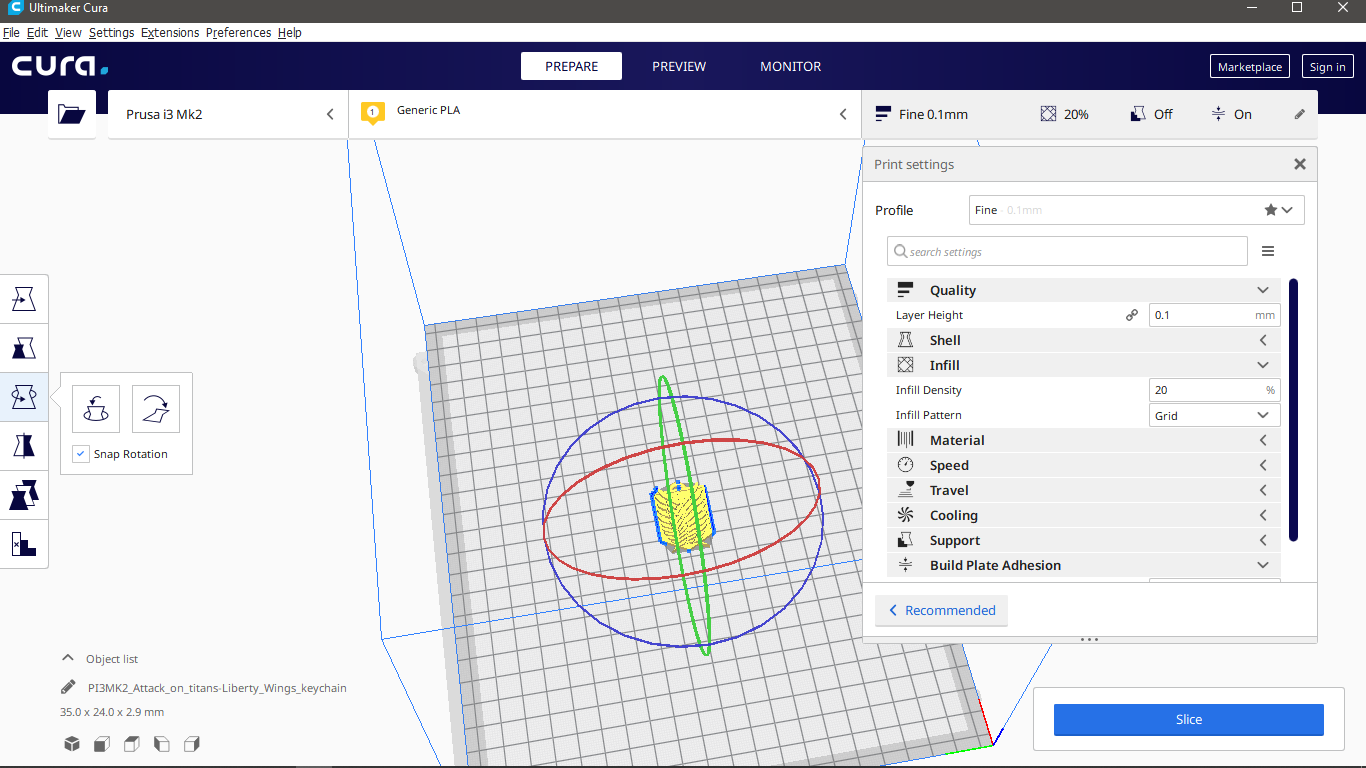
- Rotation part
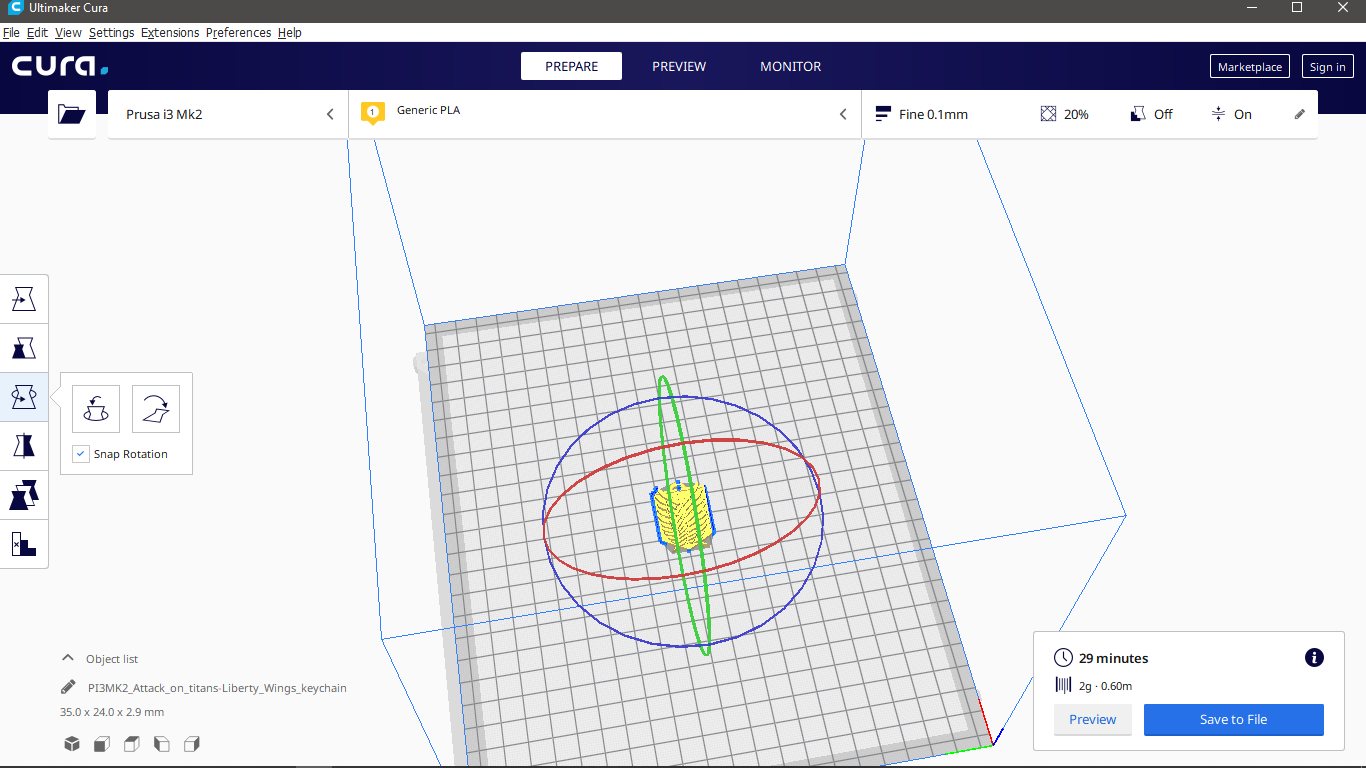
- Custom setting:
- Layer Height:0.1
- infill:20%-Grid
- Speed:60 - Temp:210
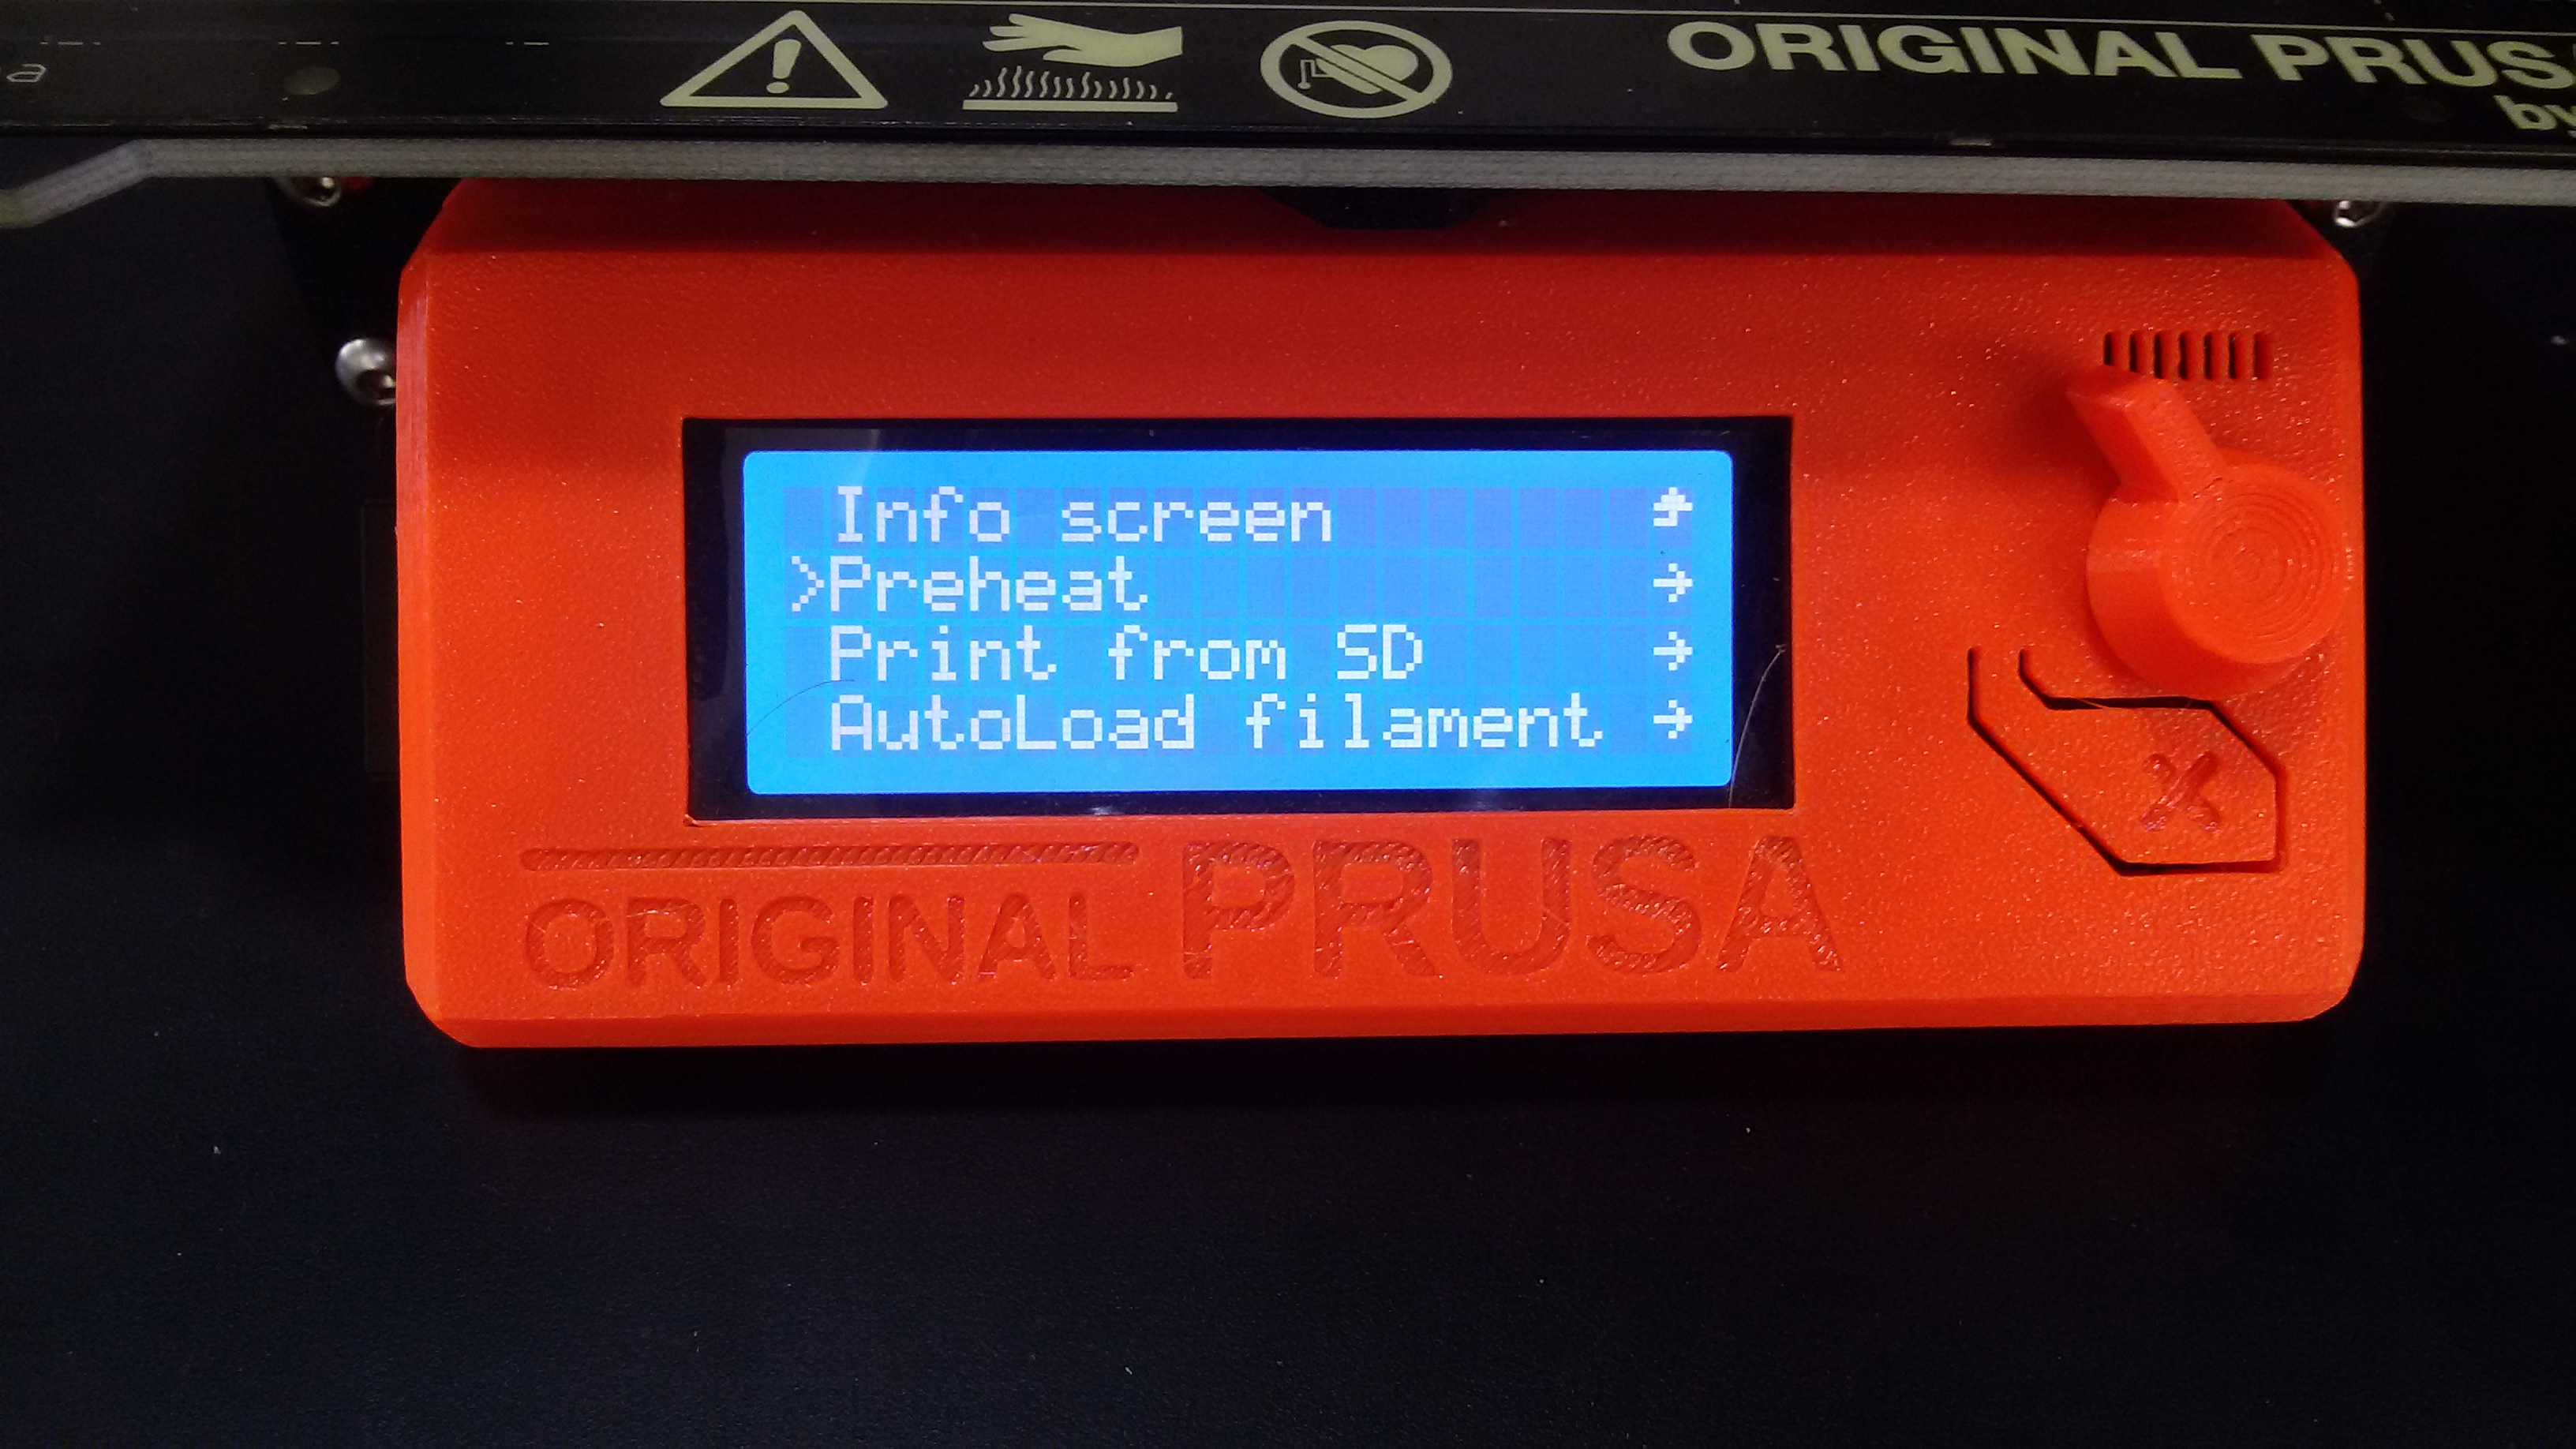
- Prheat as a pre-print test to make sure everything works fine
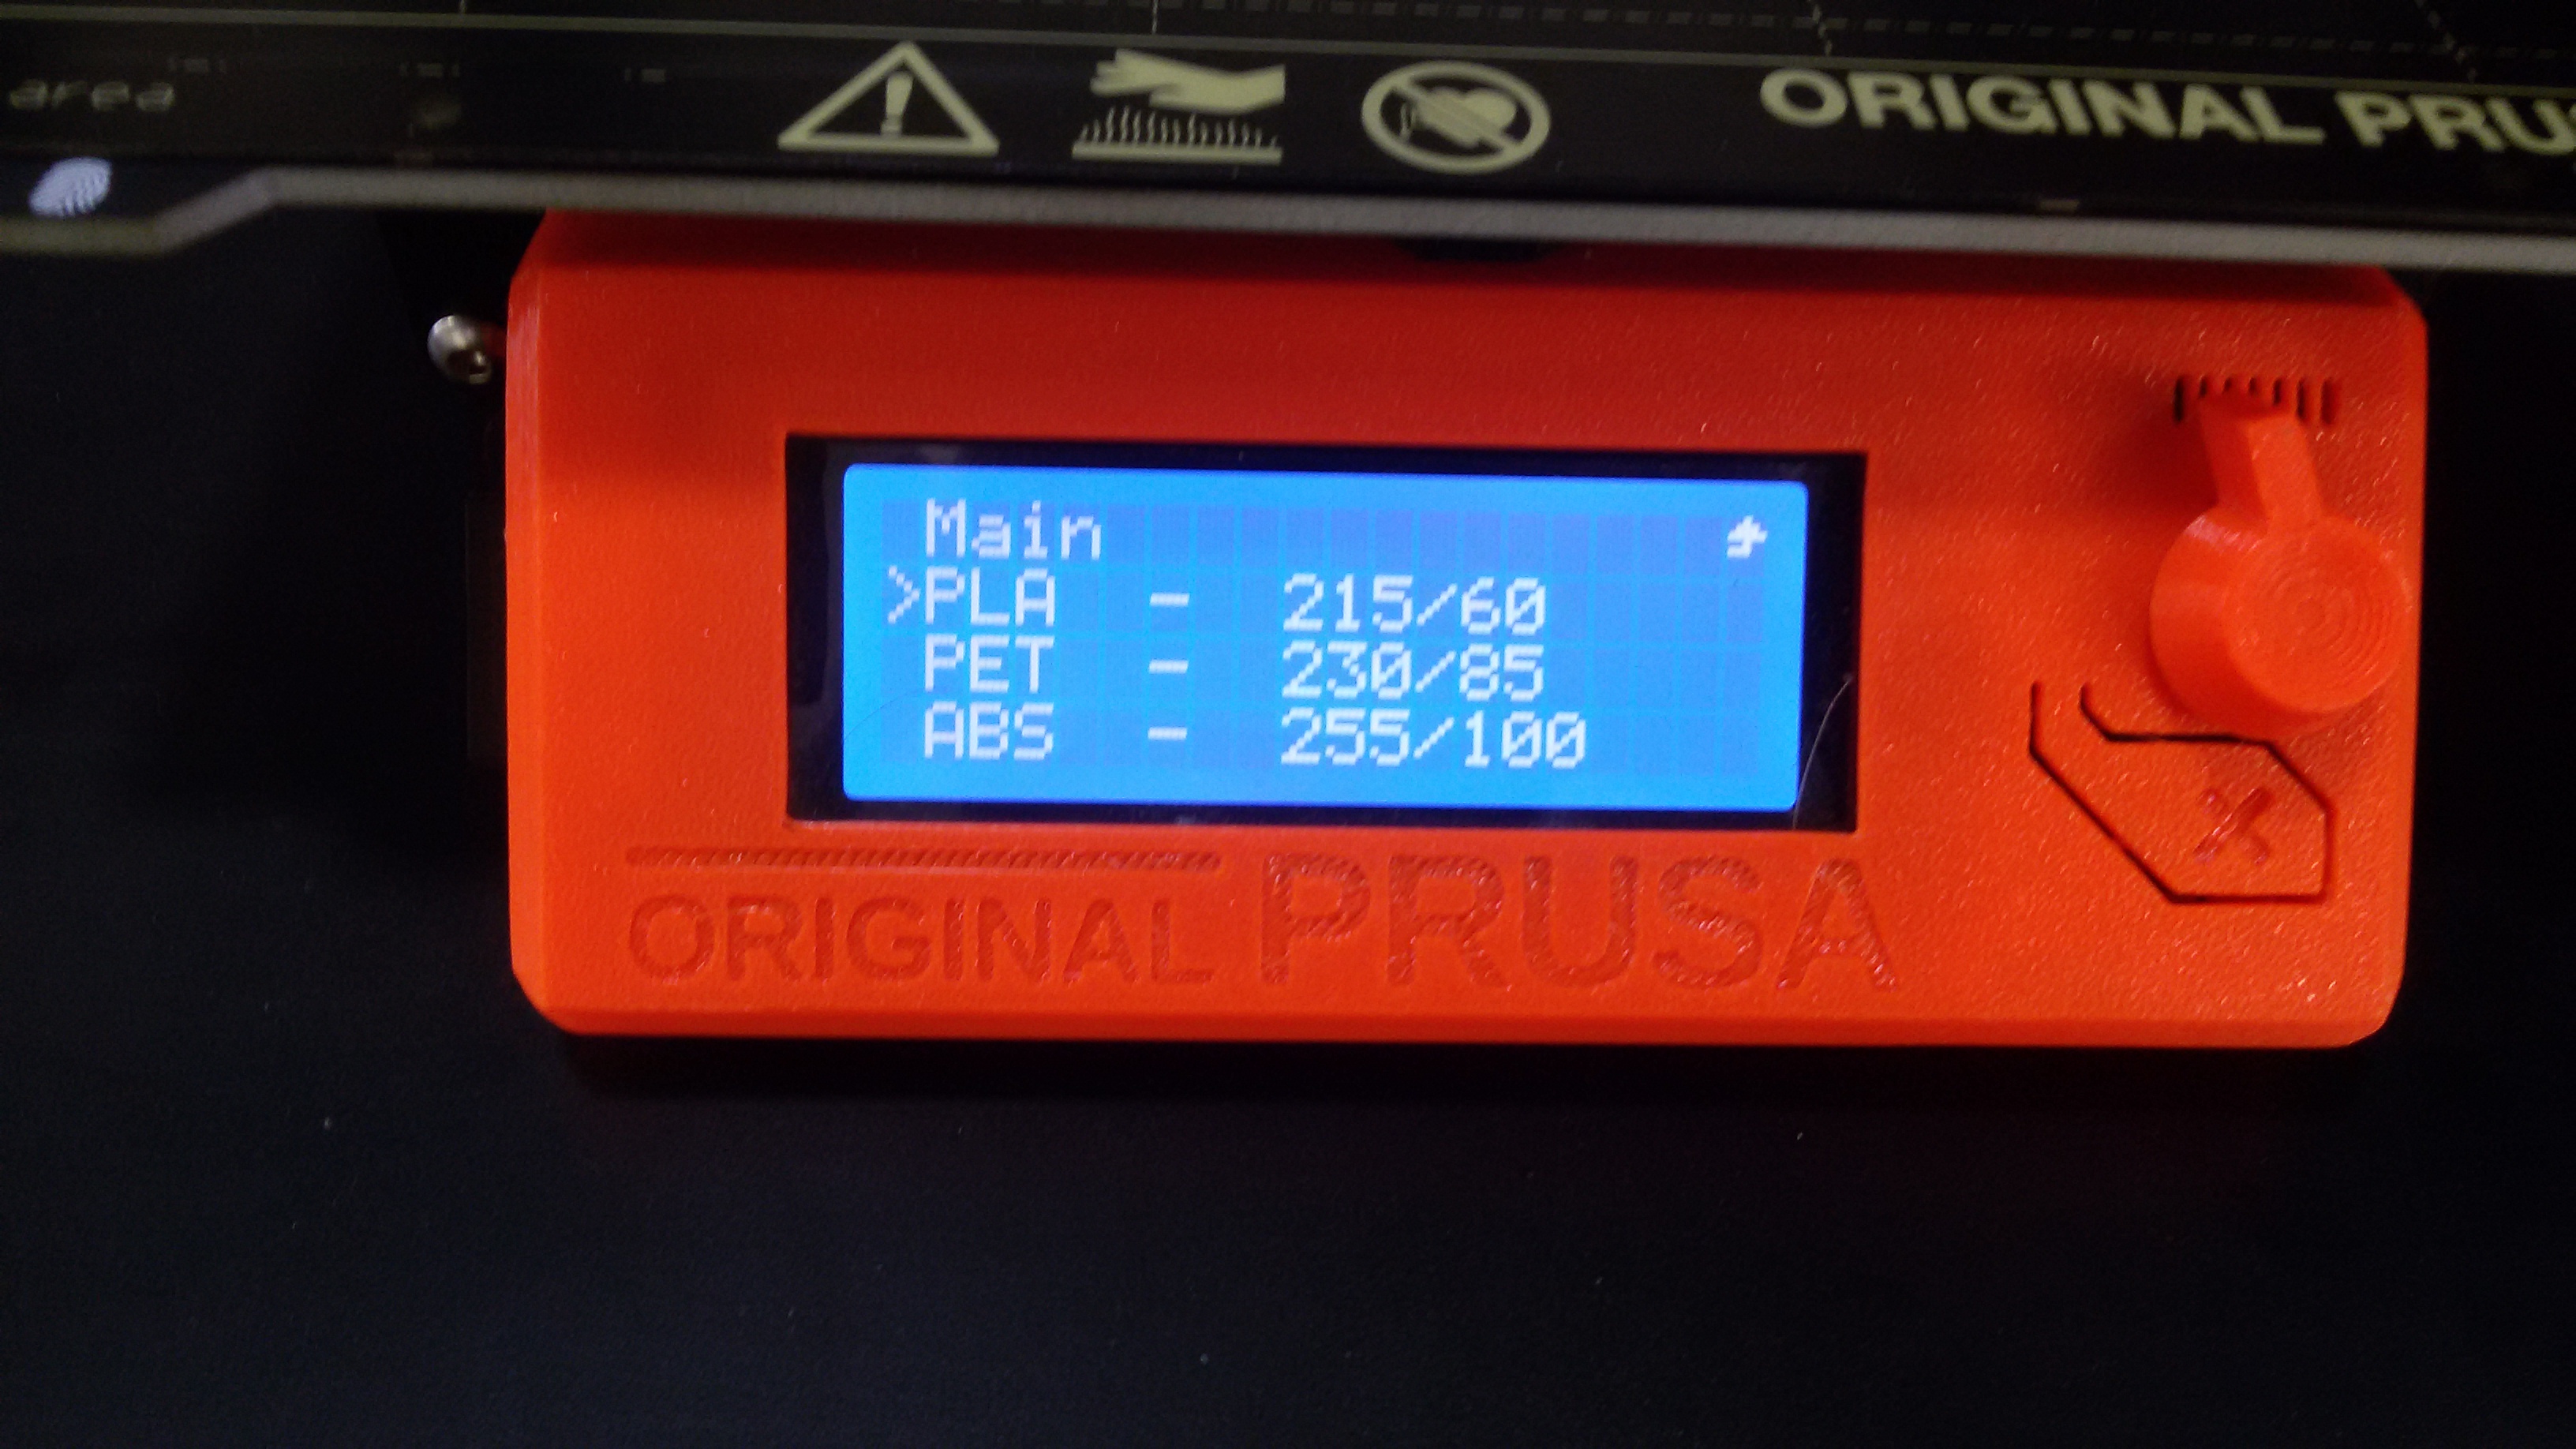
- Choose PLA
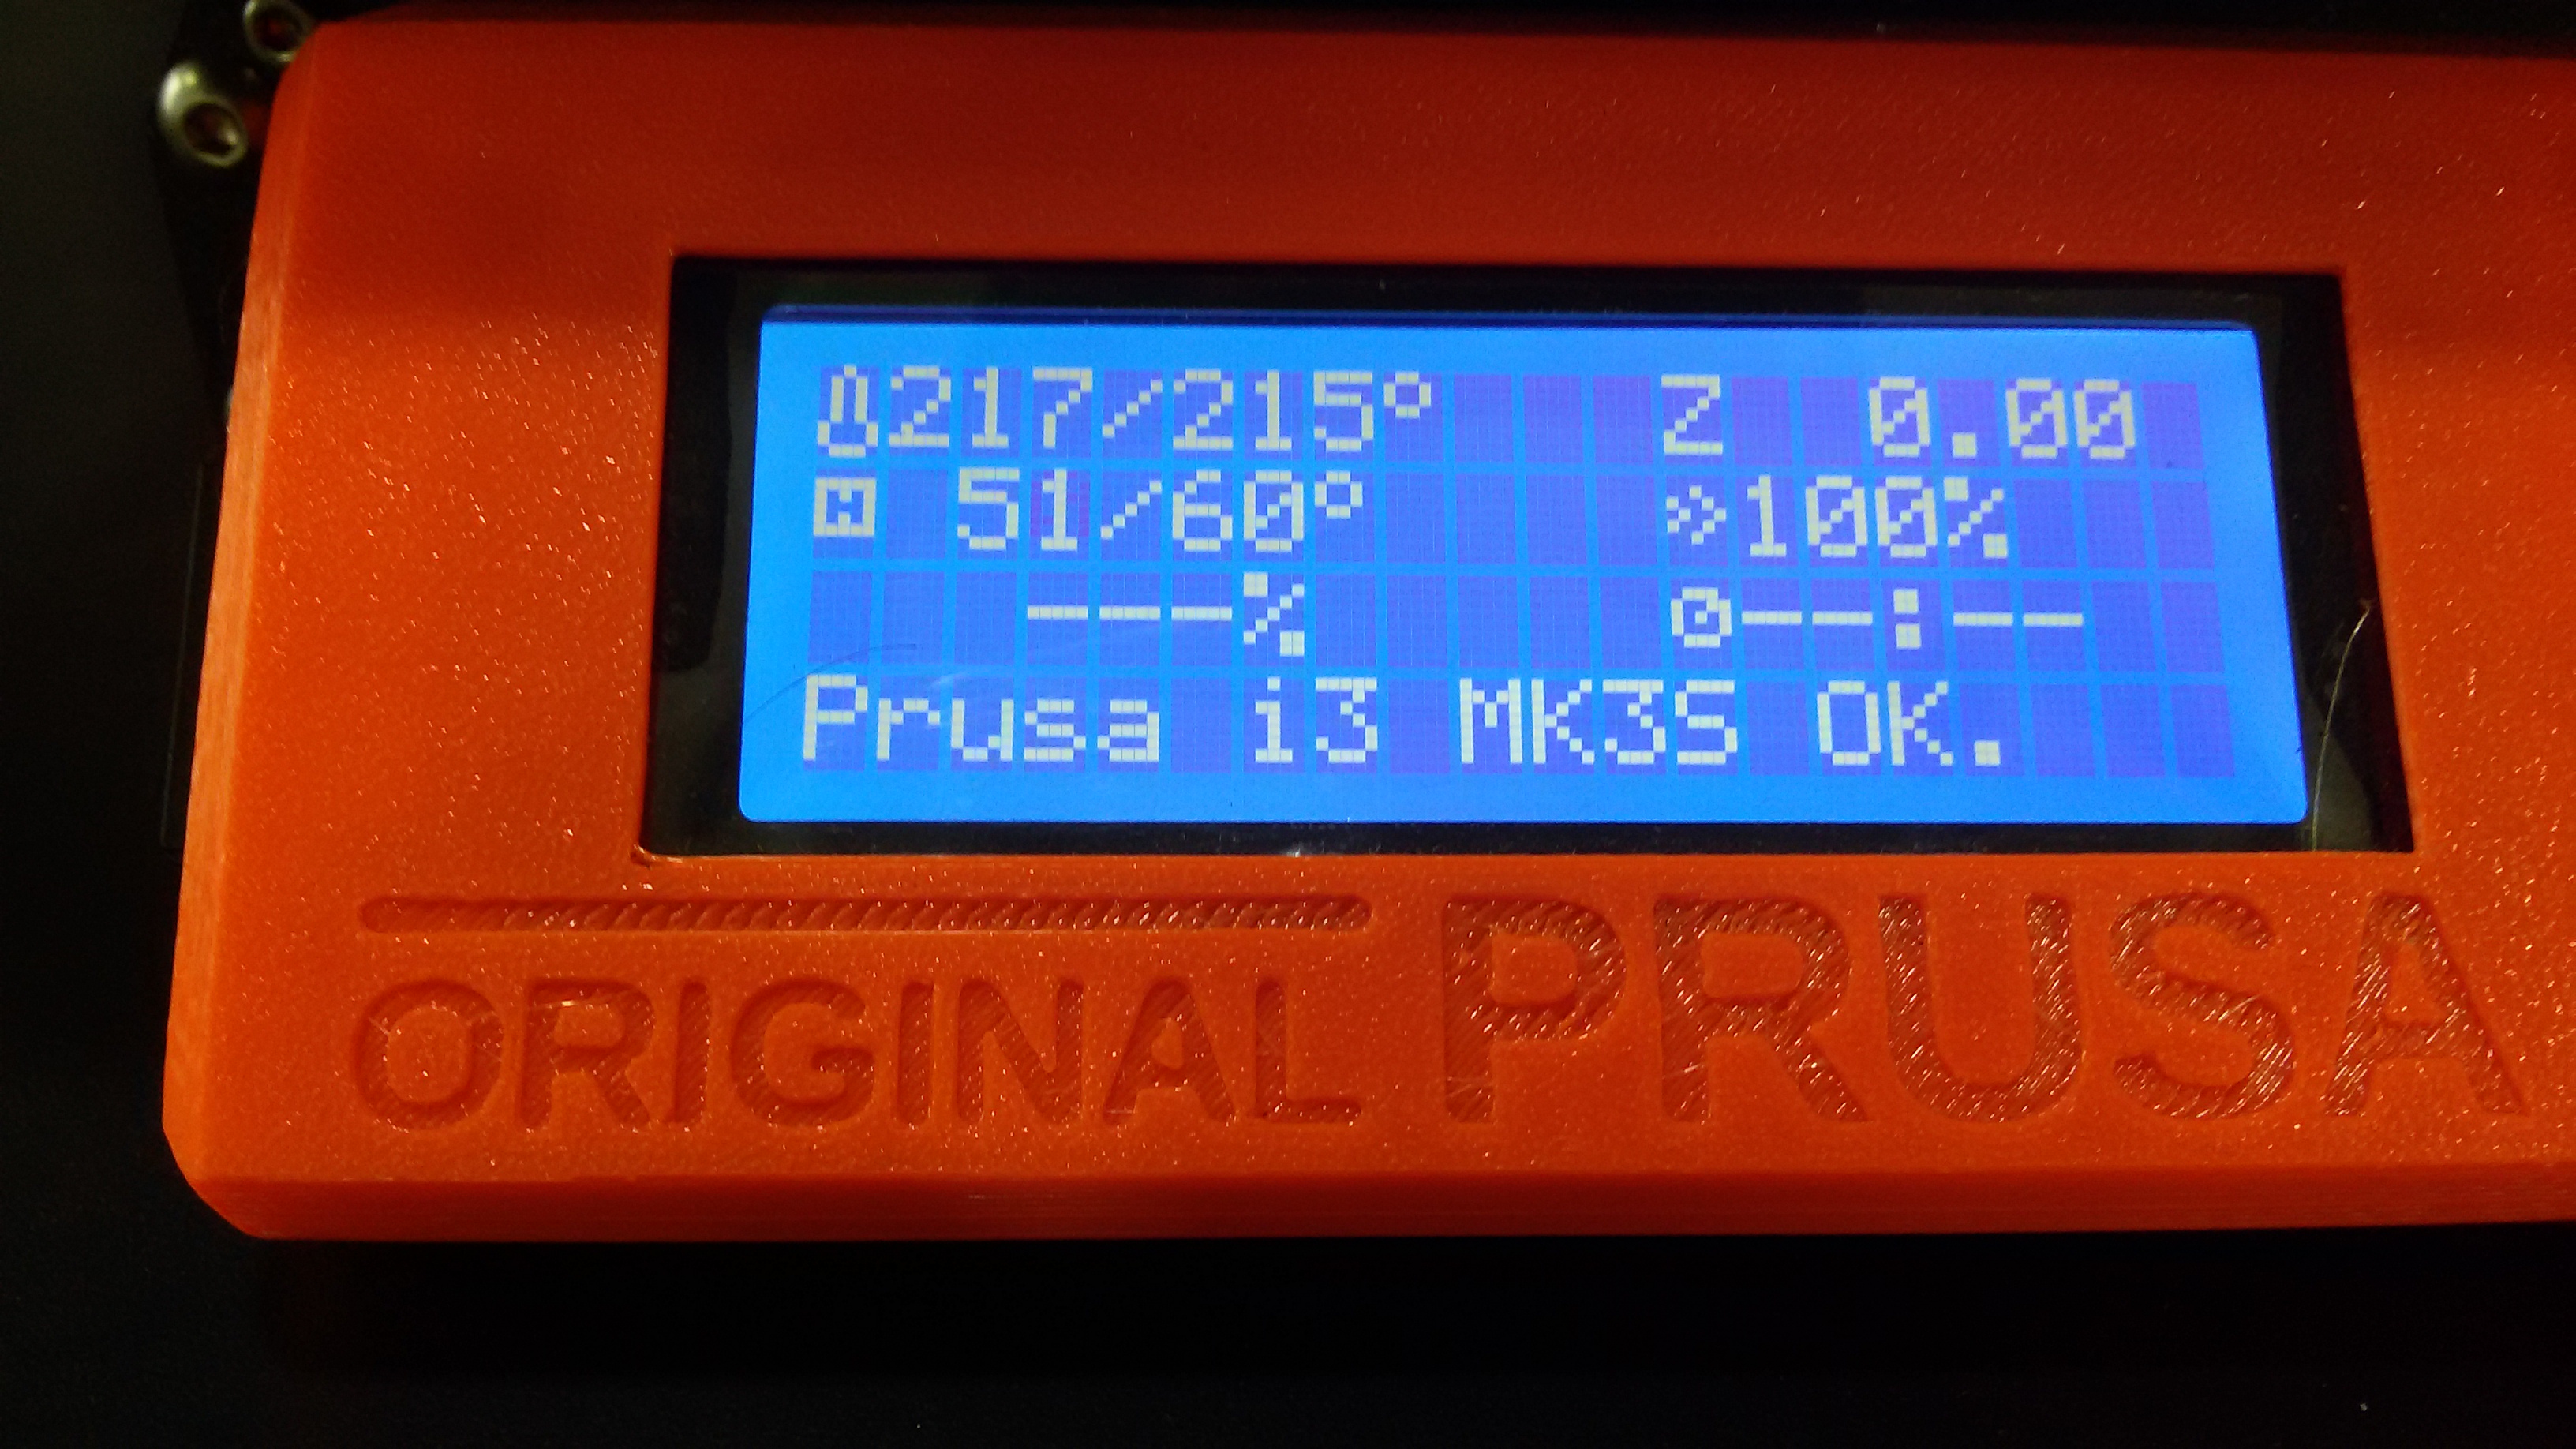
- it's ok time to GOOOOOOOO
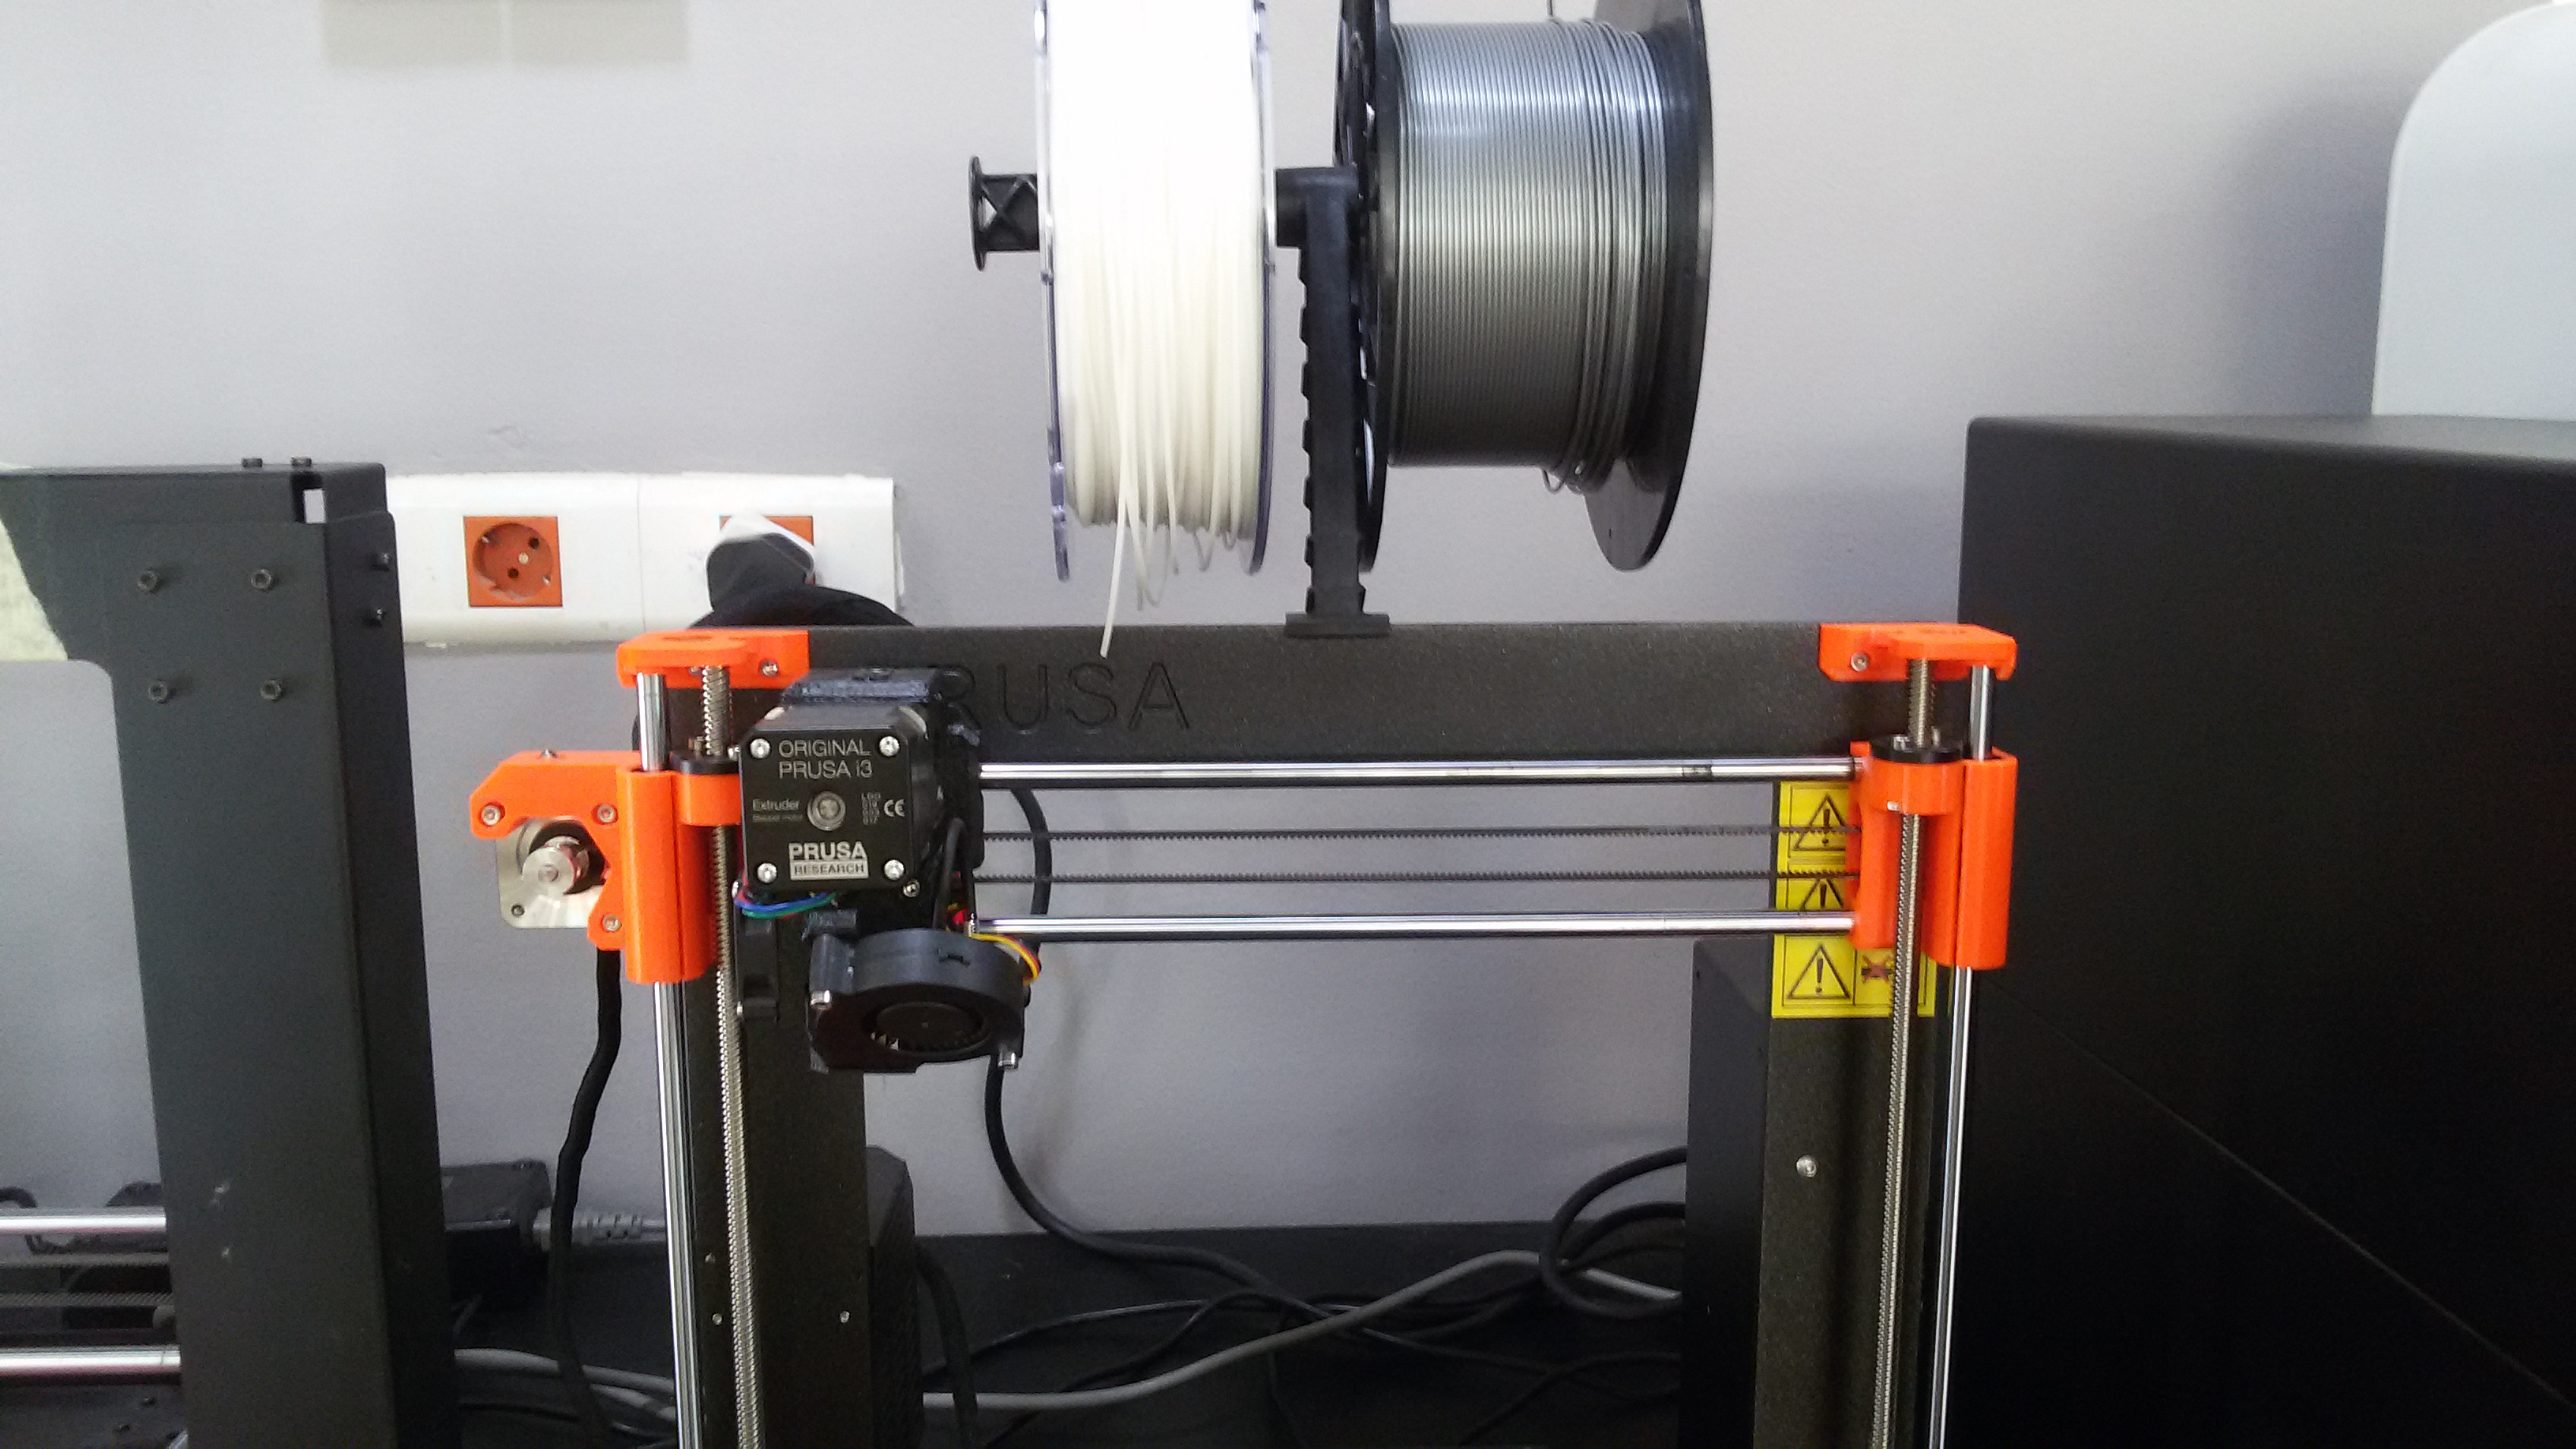
- oh WAIT load the filament first
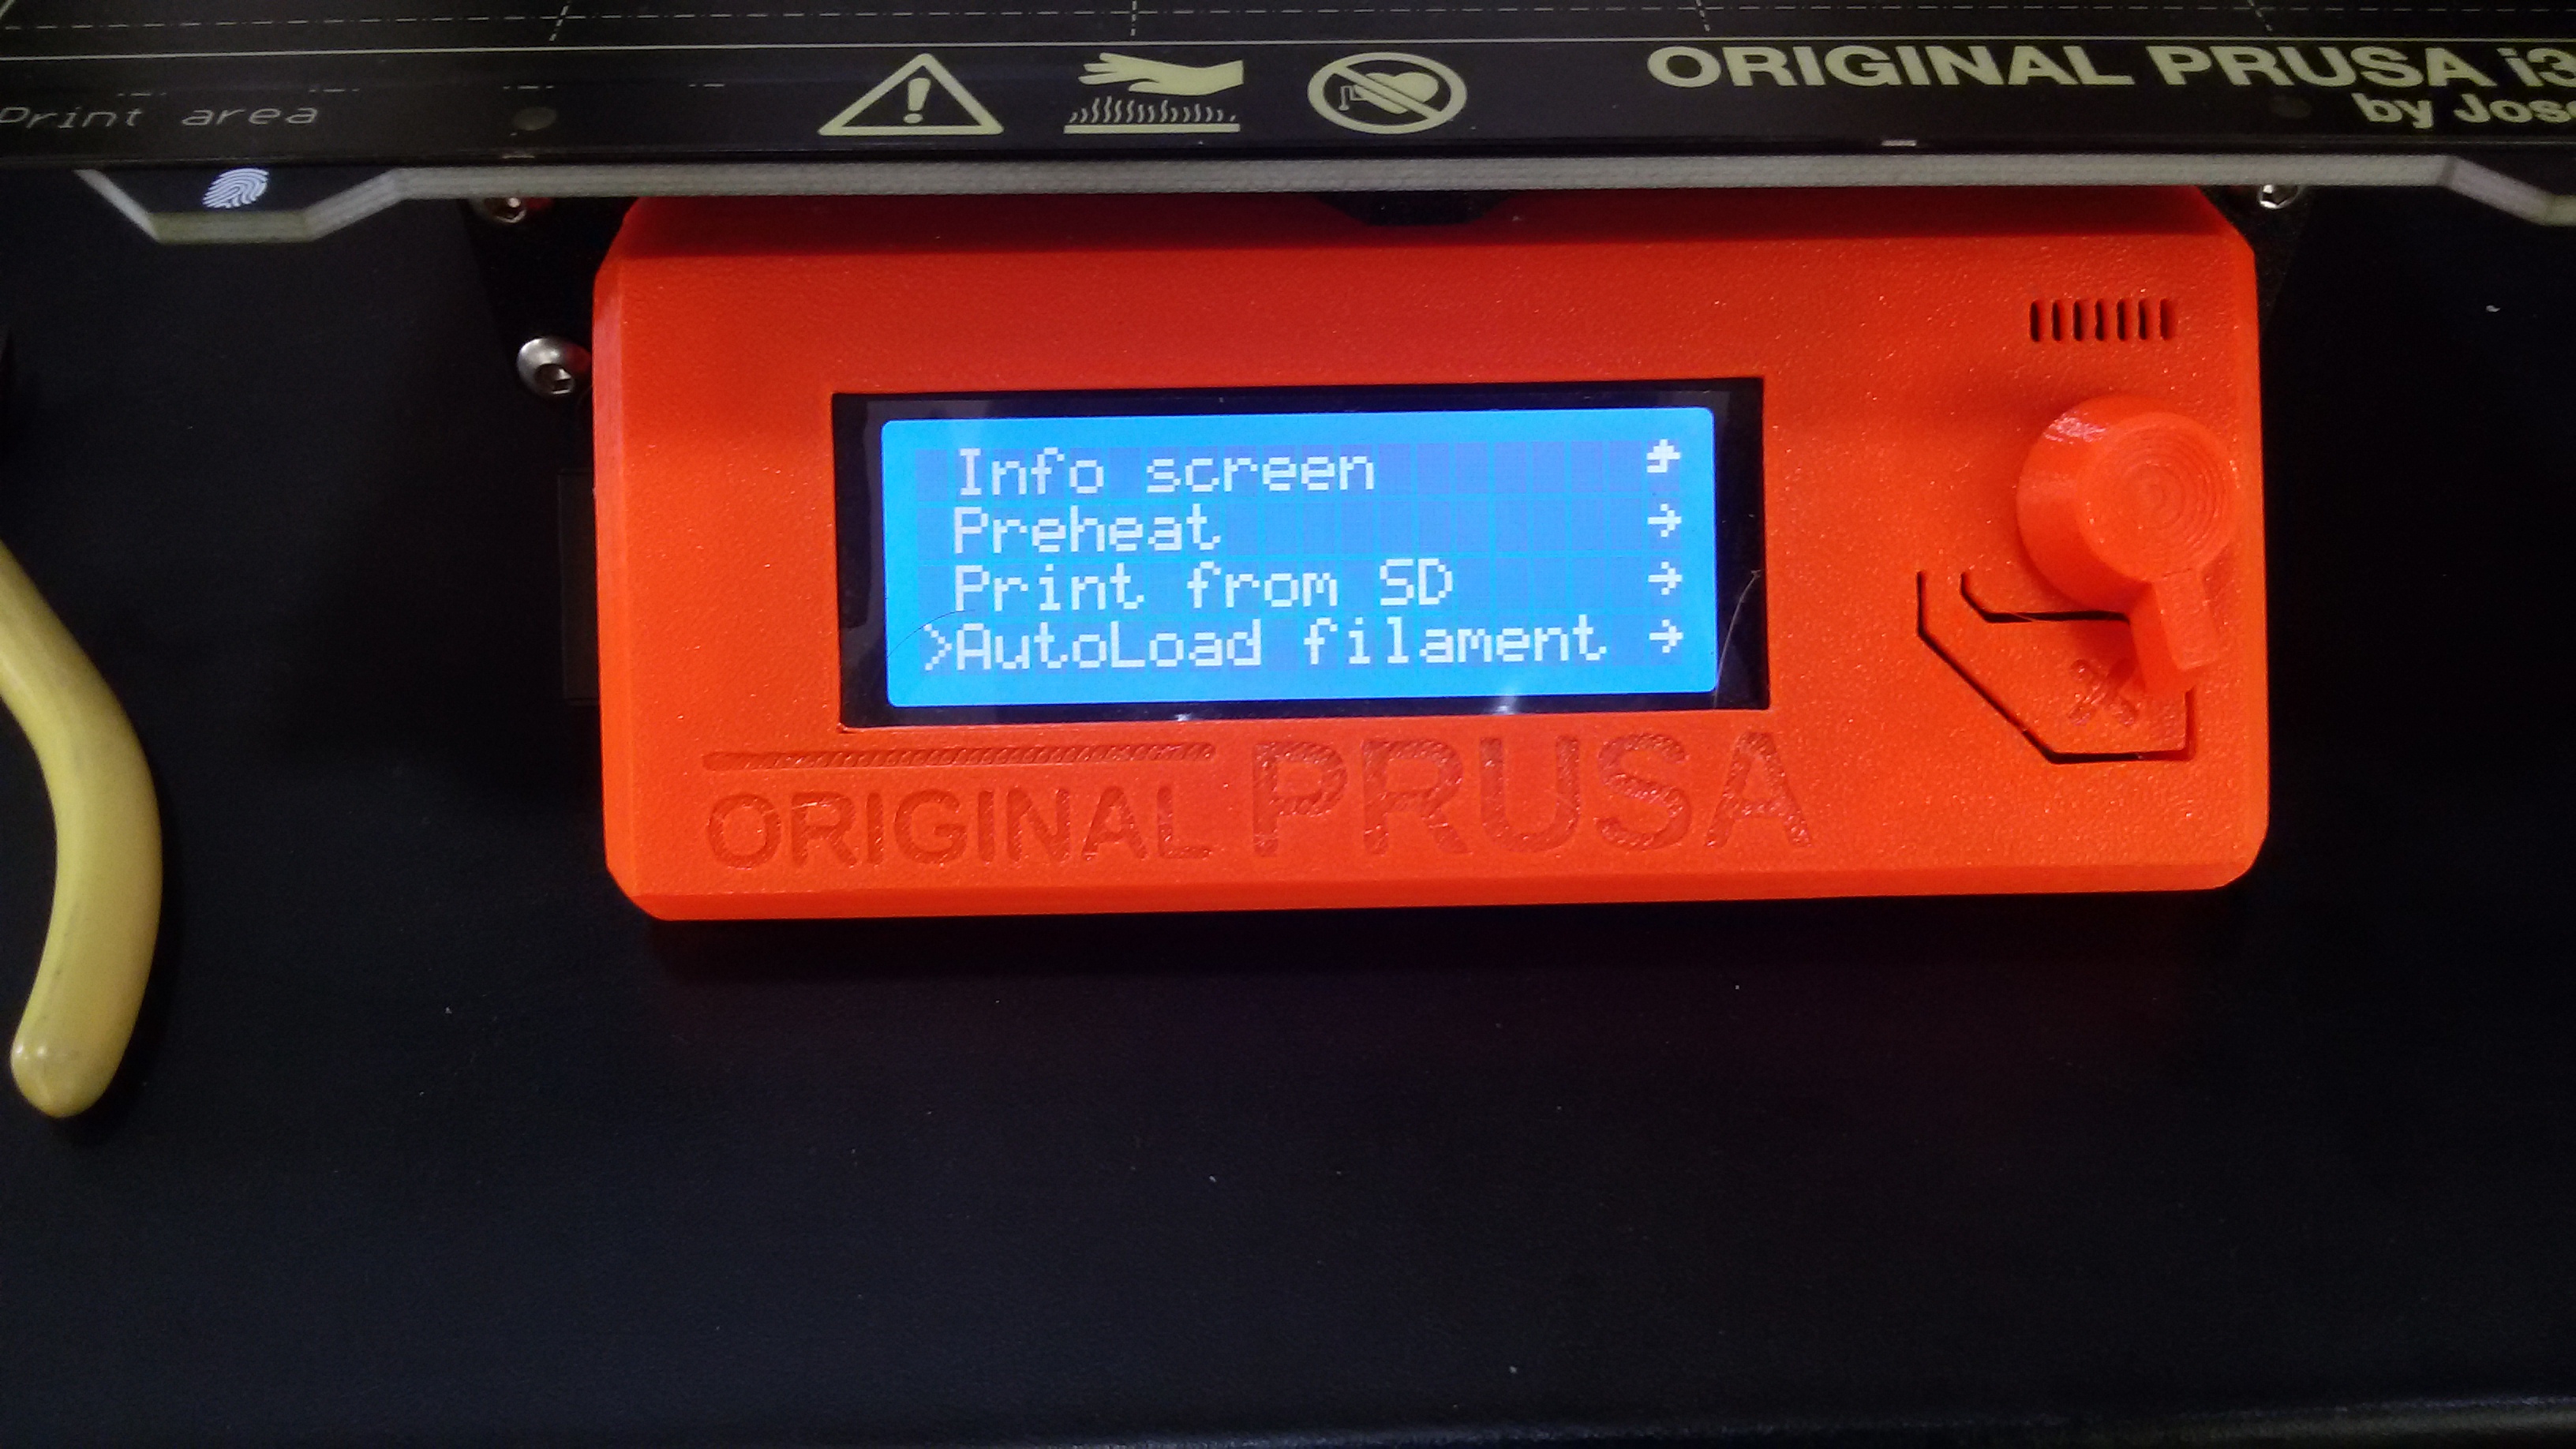
- Thank God we have autoload in our Prusa ^^
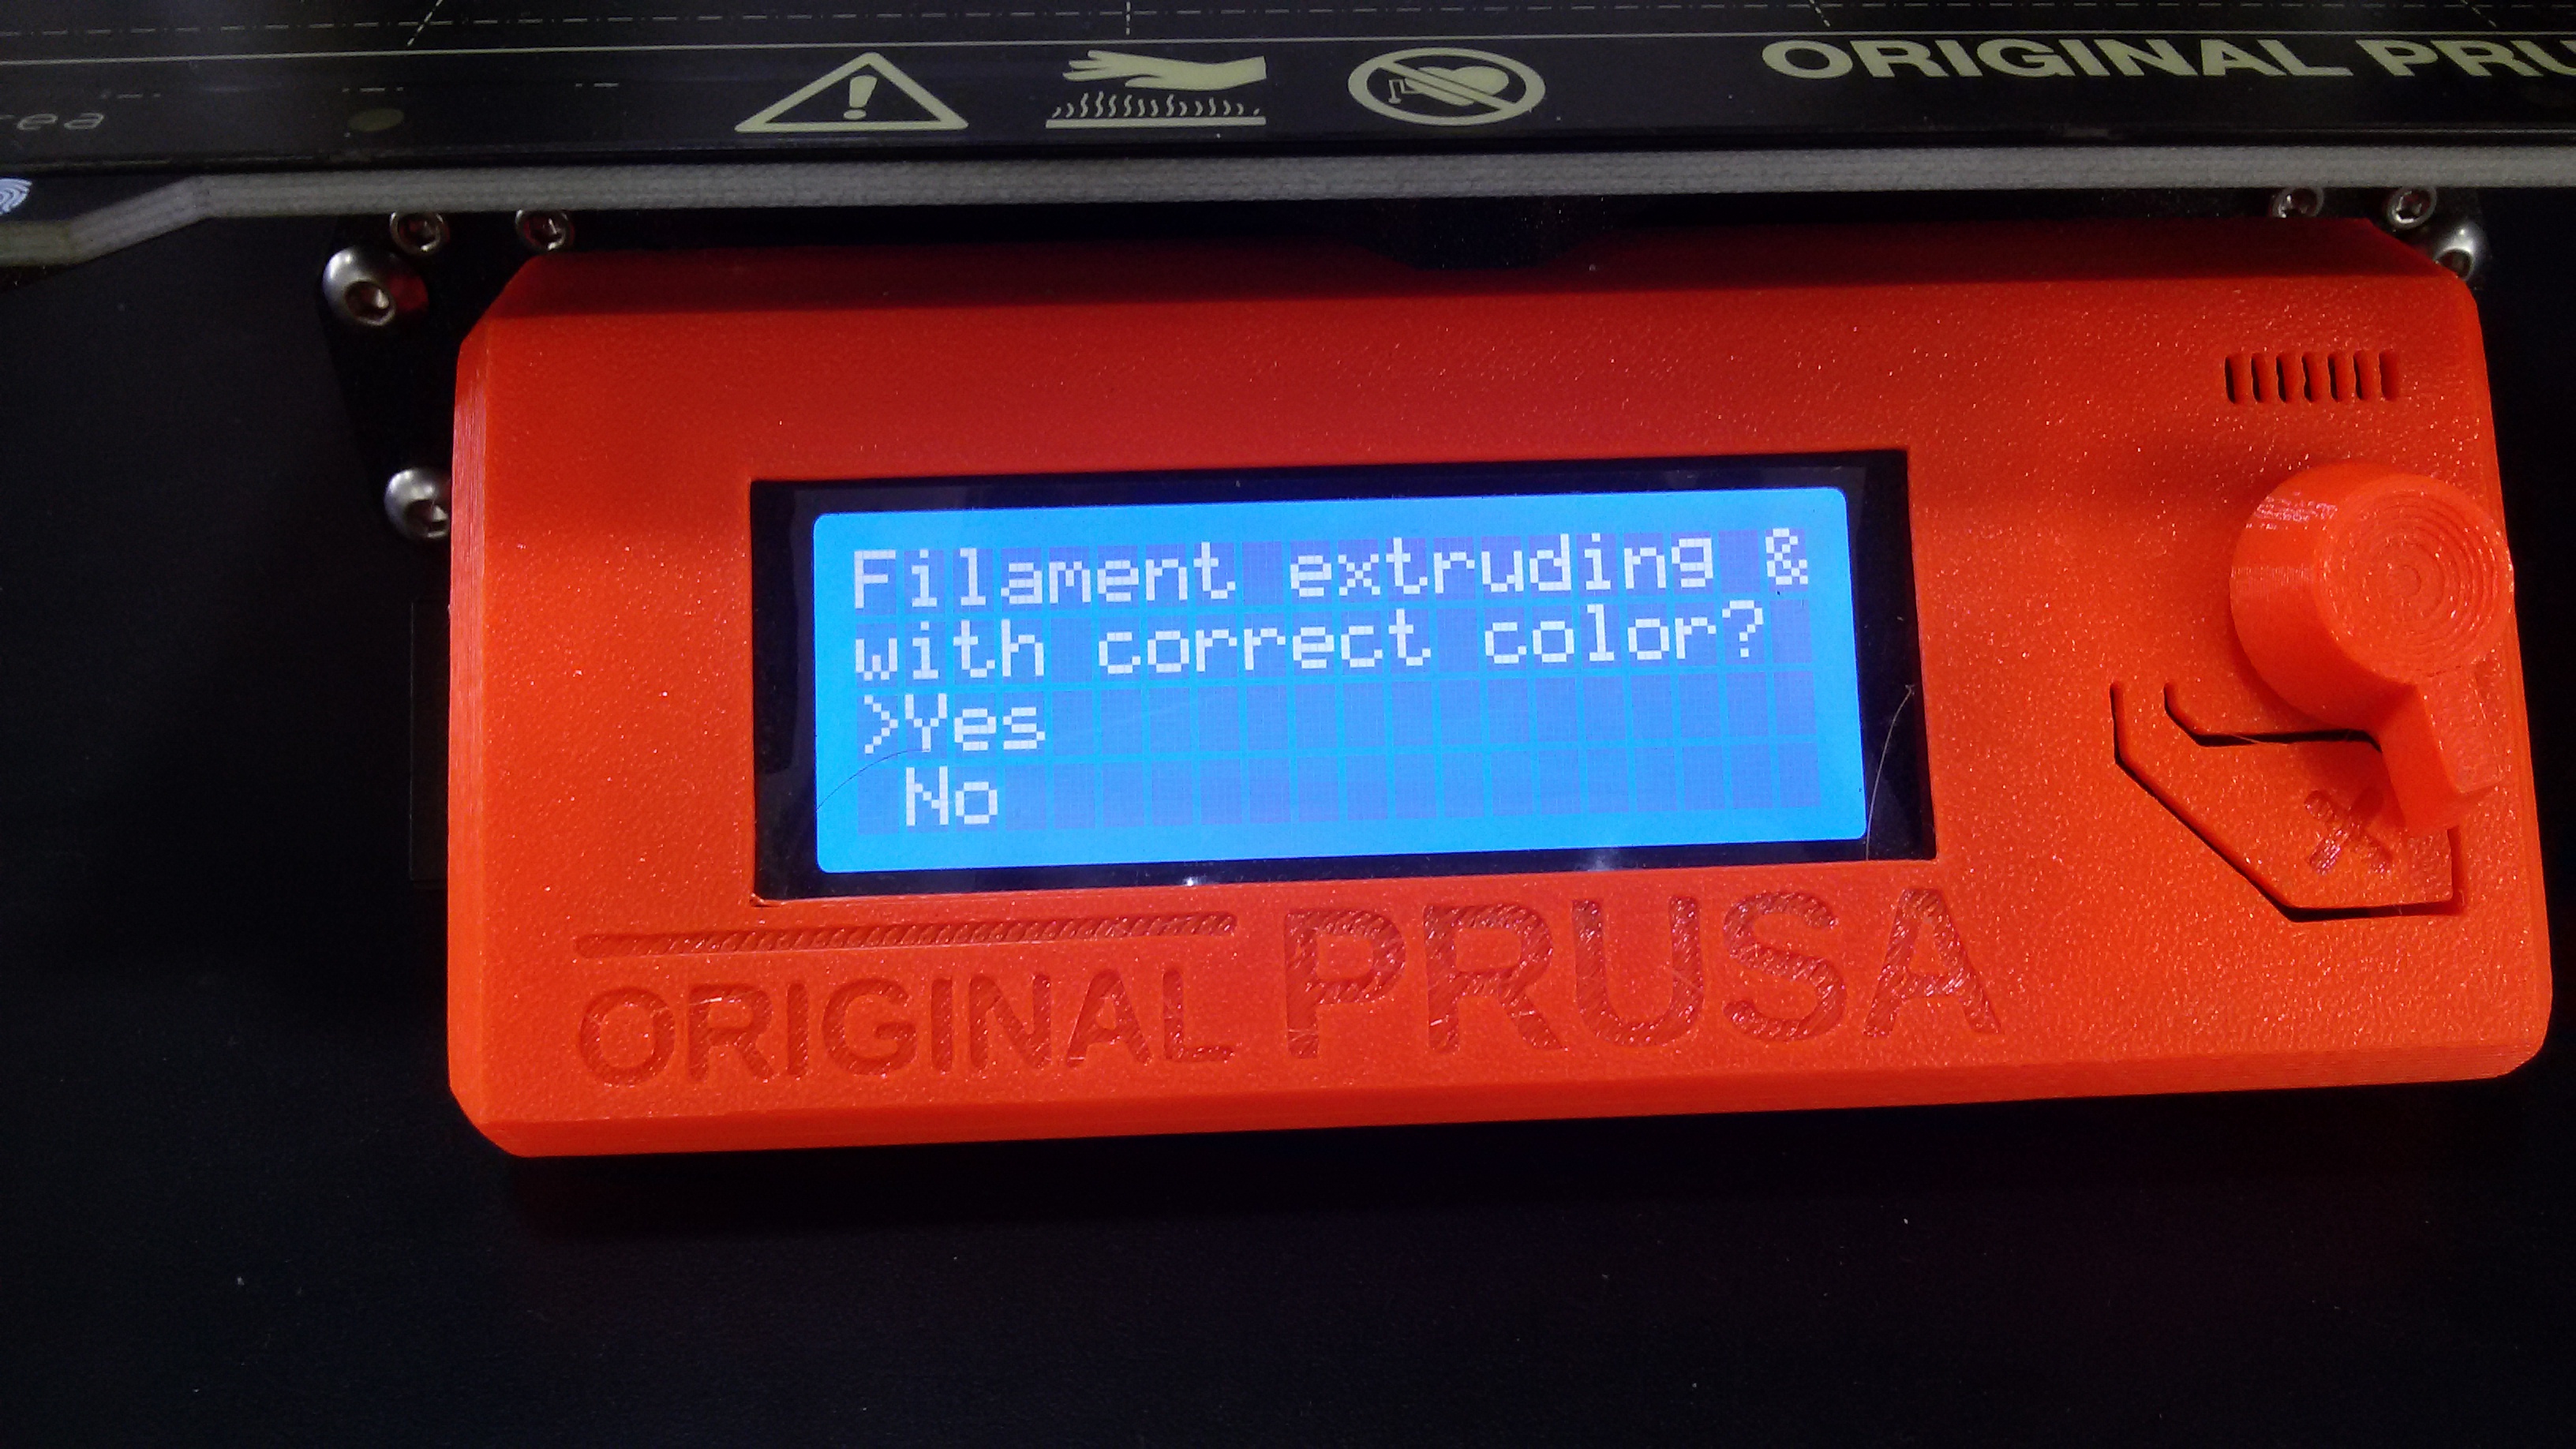
- YEEEEES
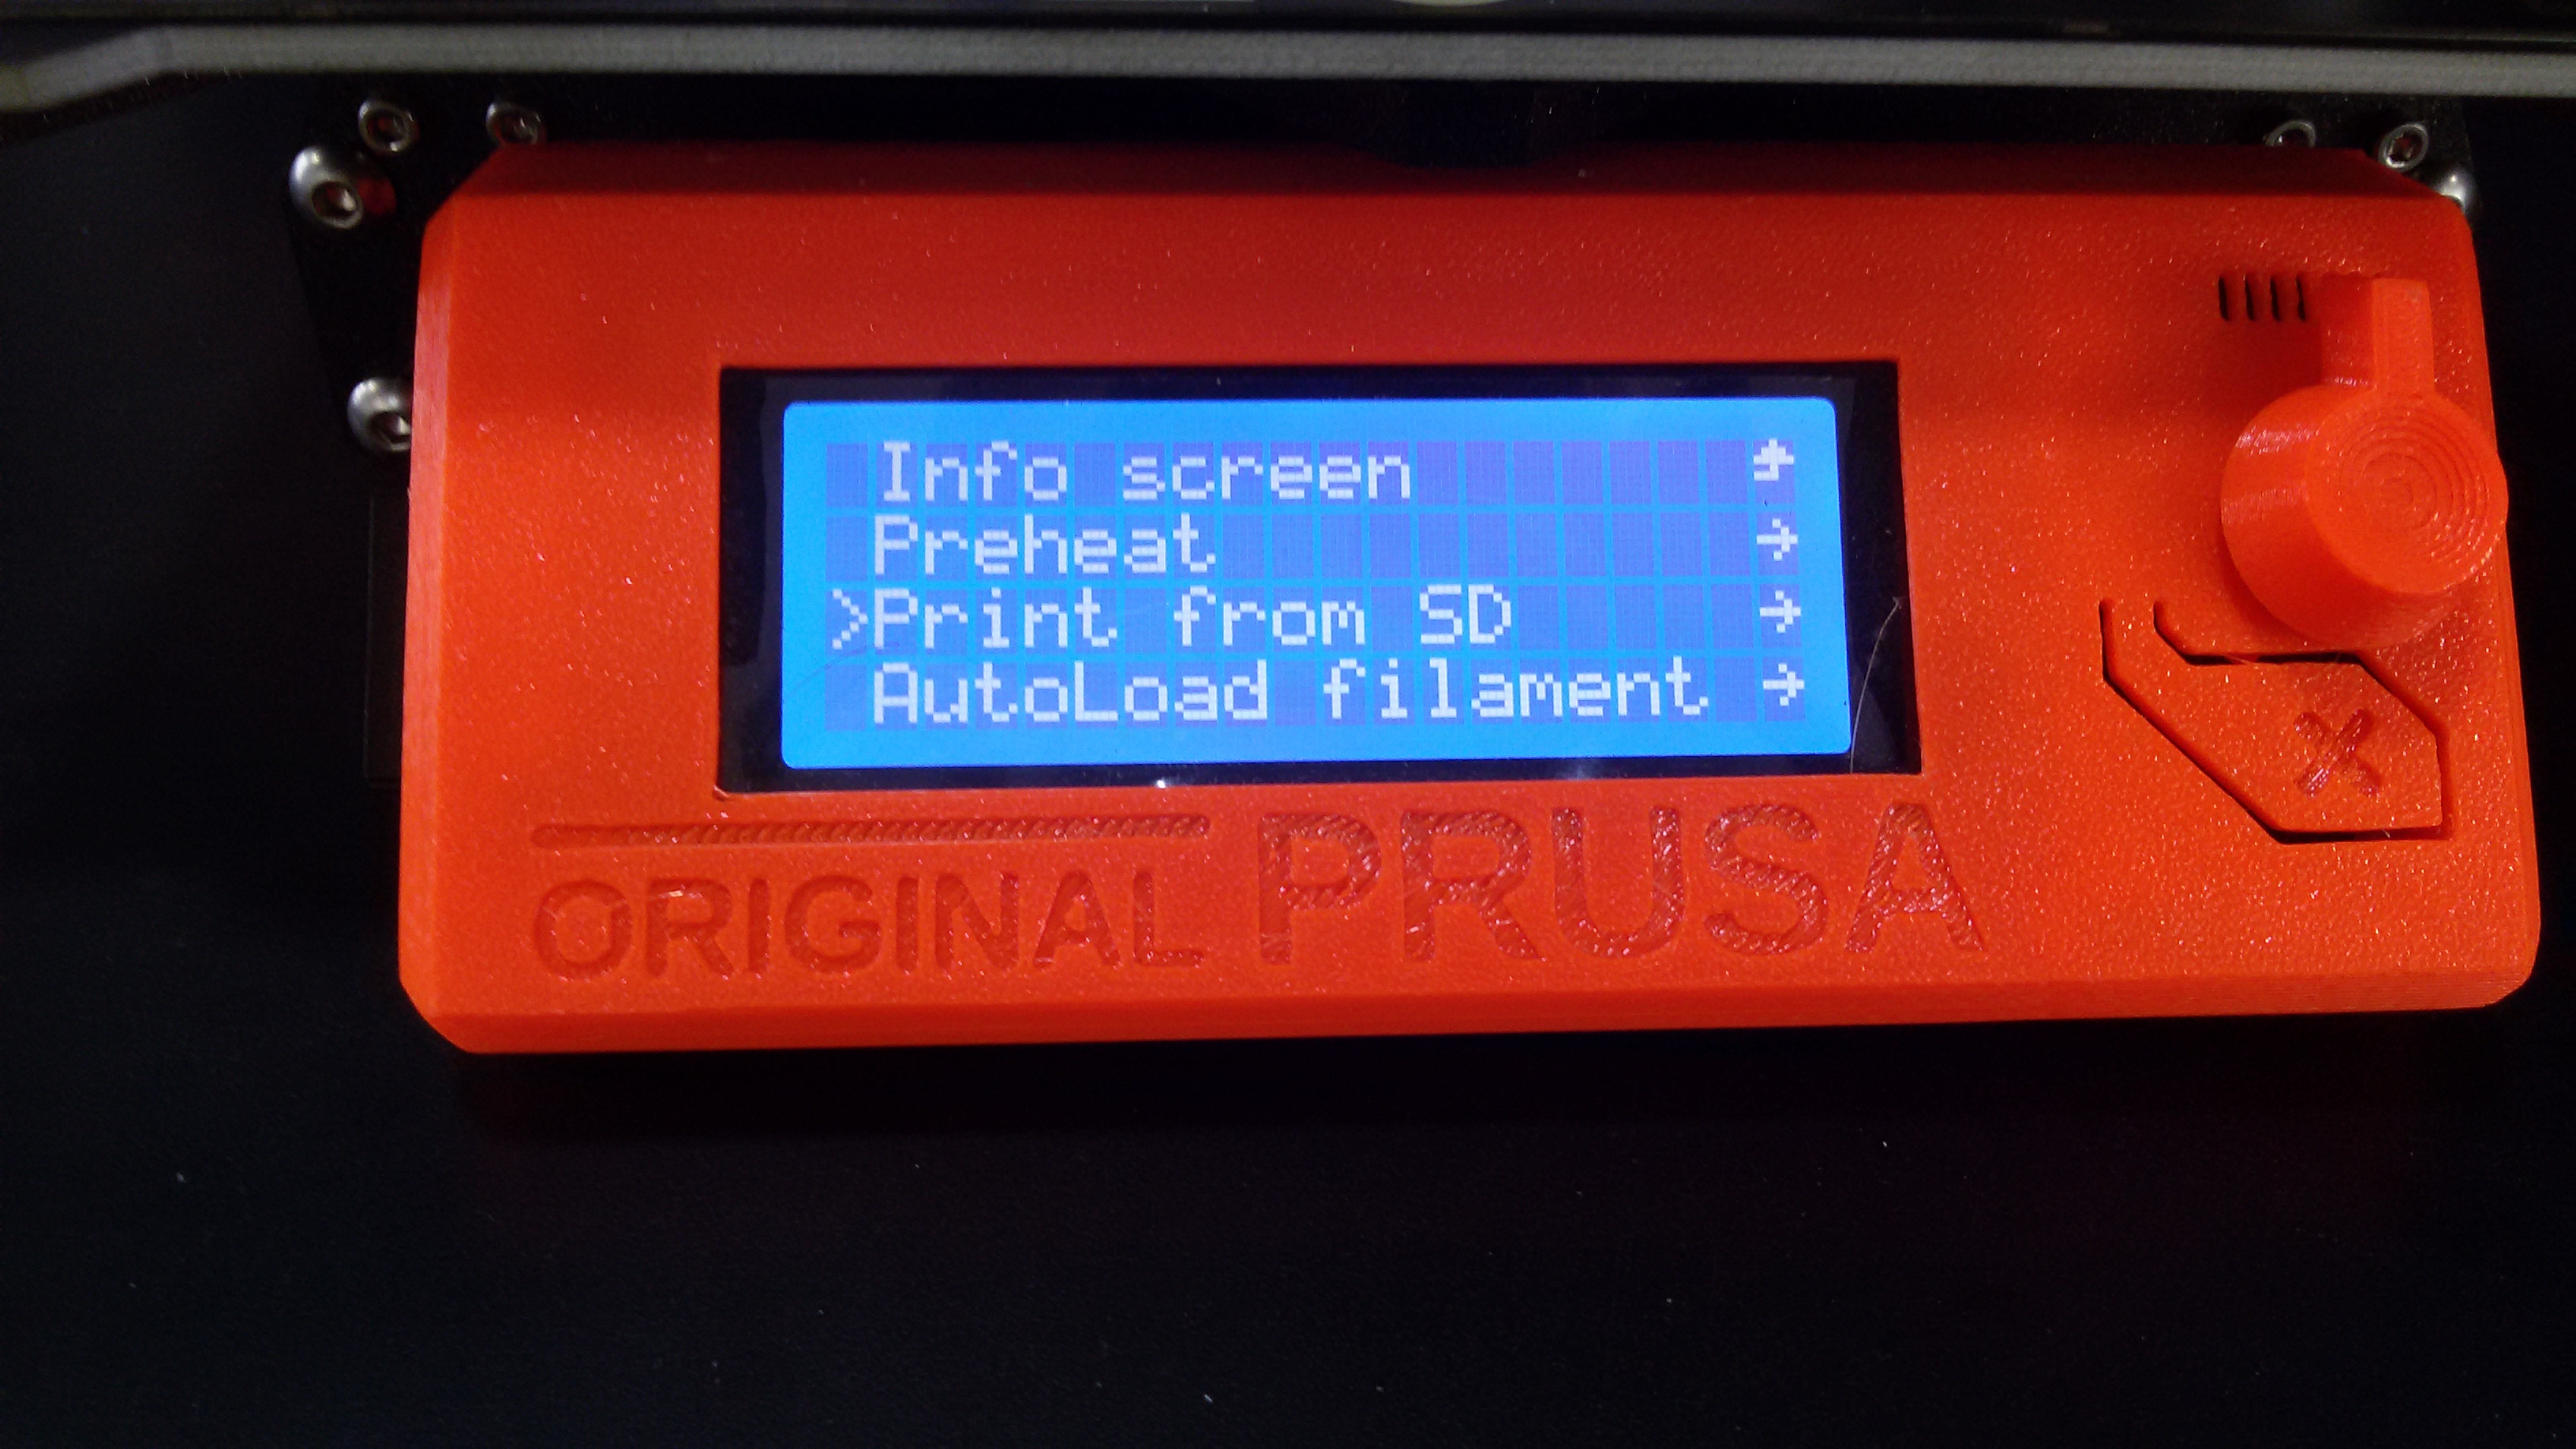
- Now it's time to G00000
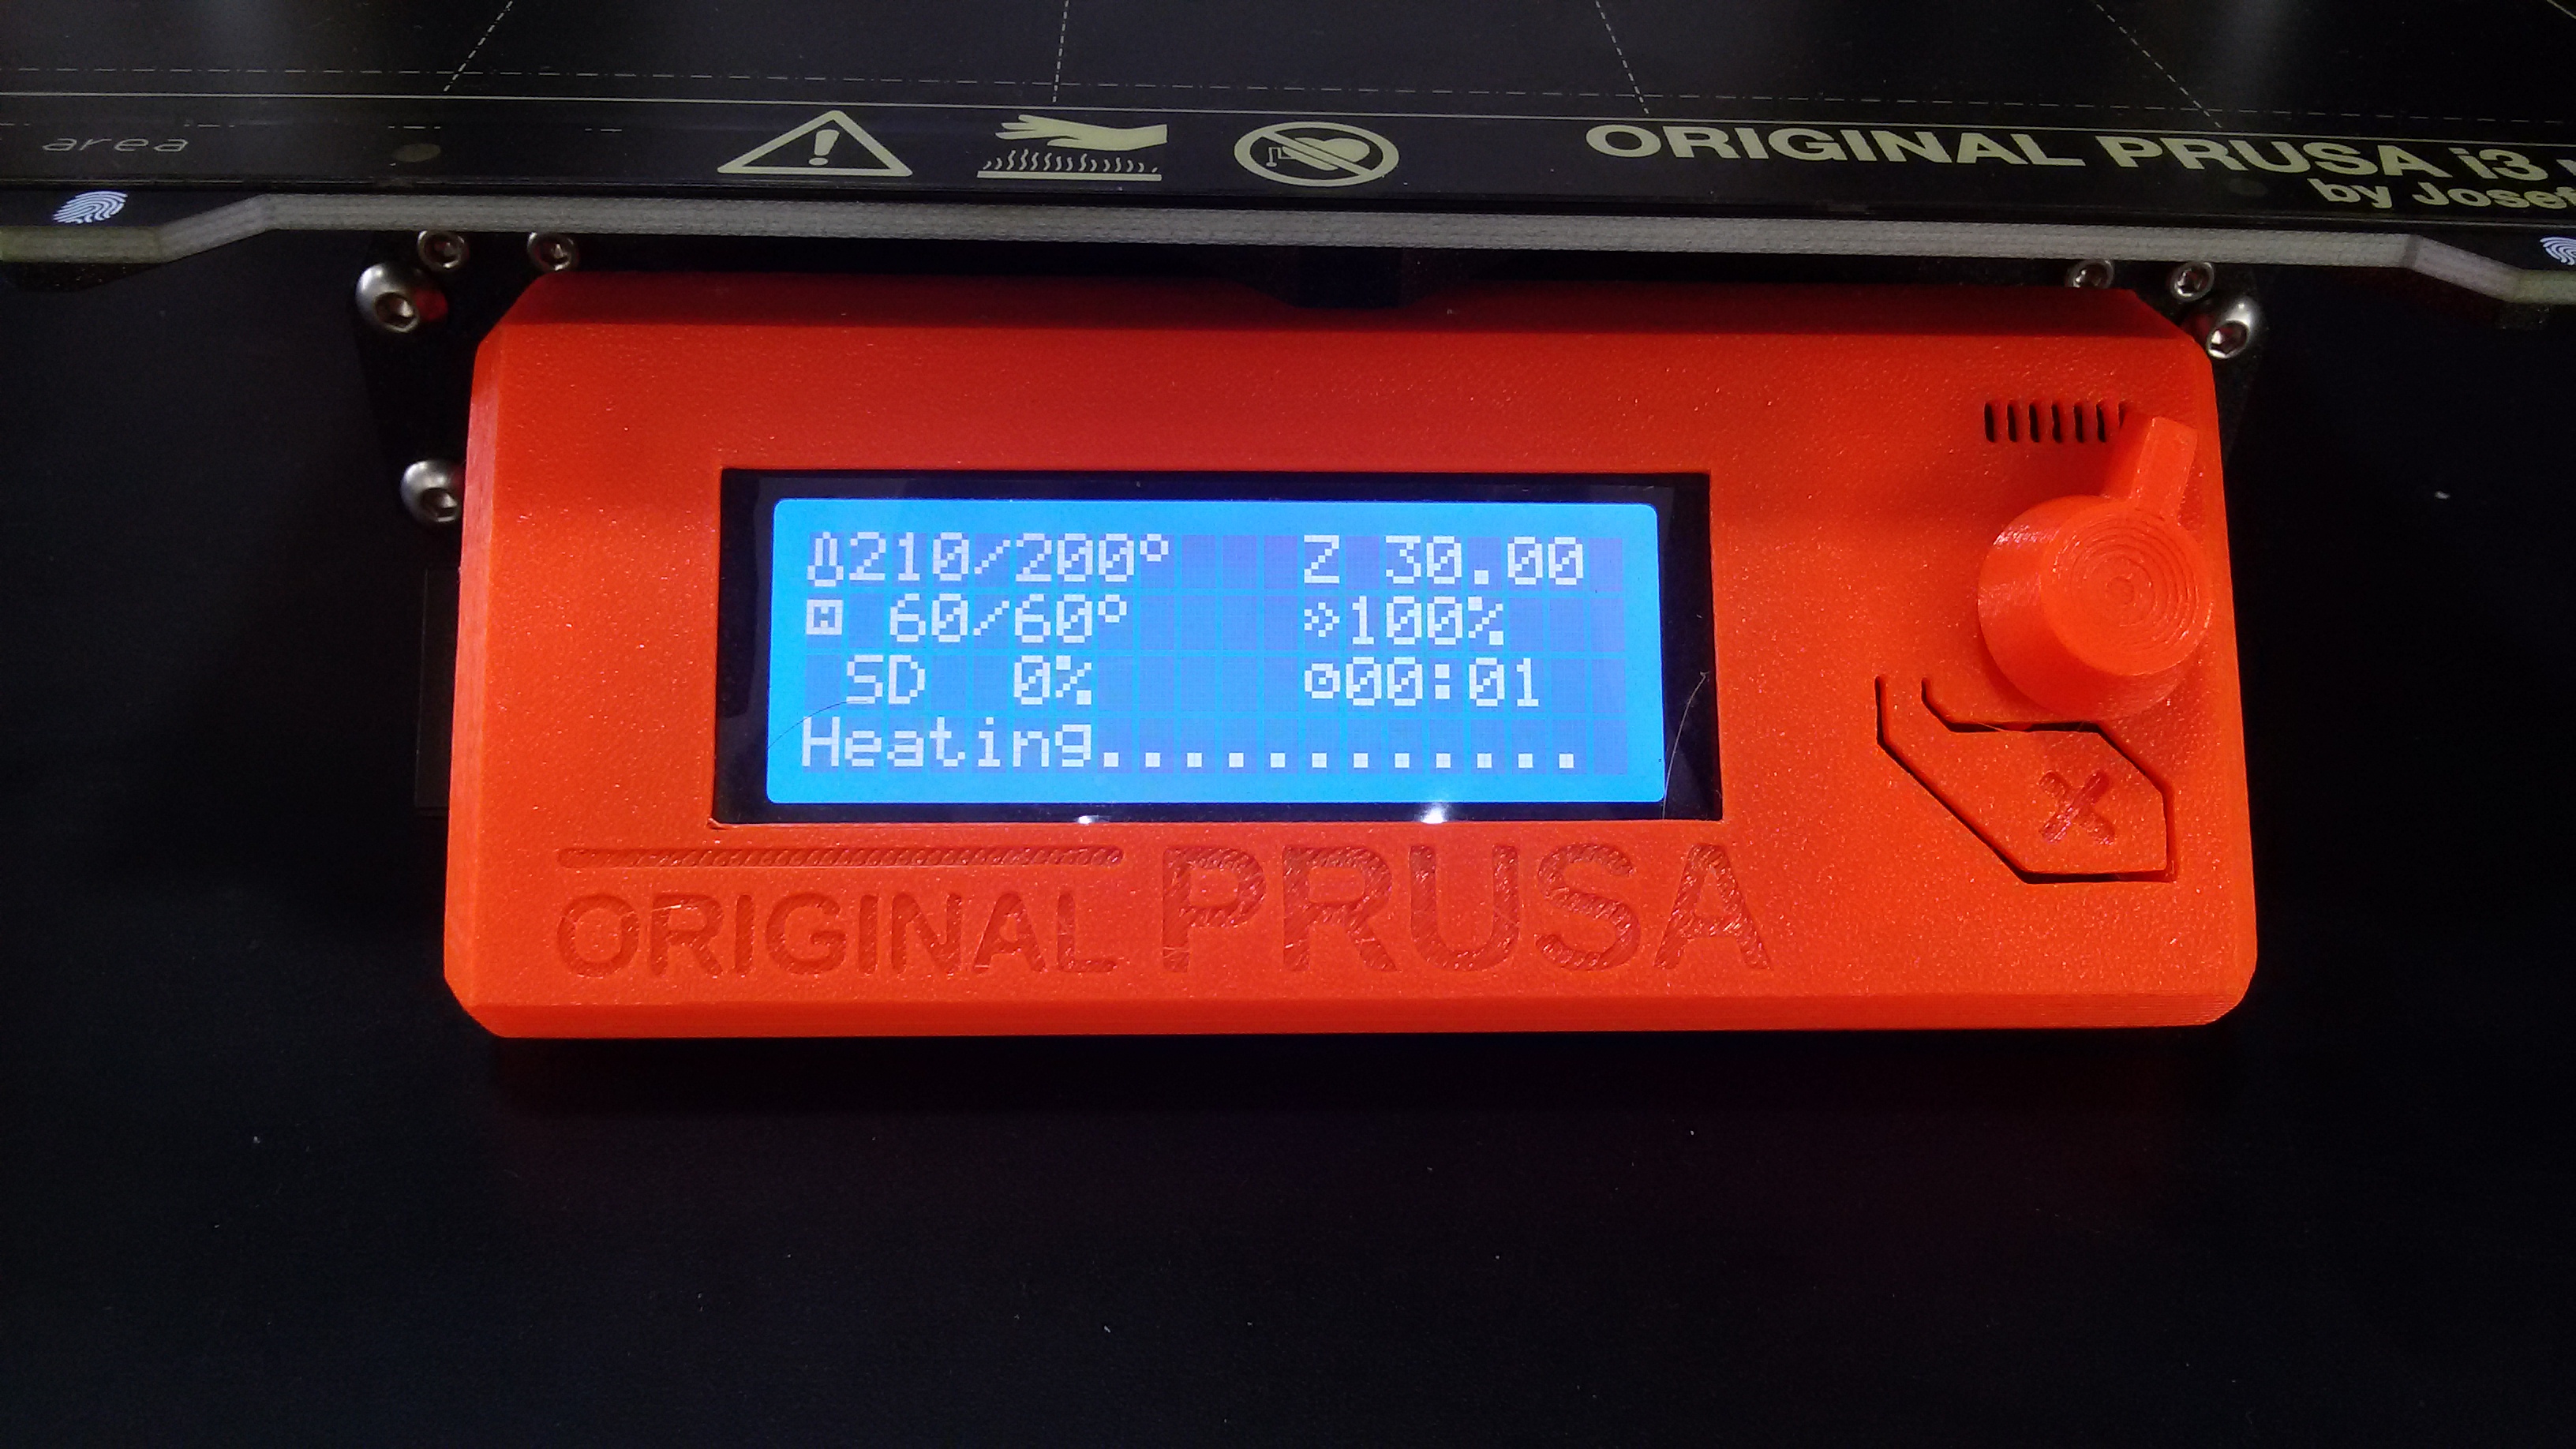
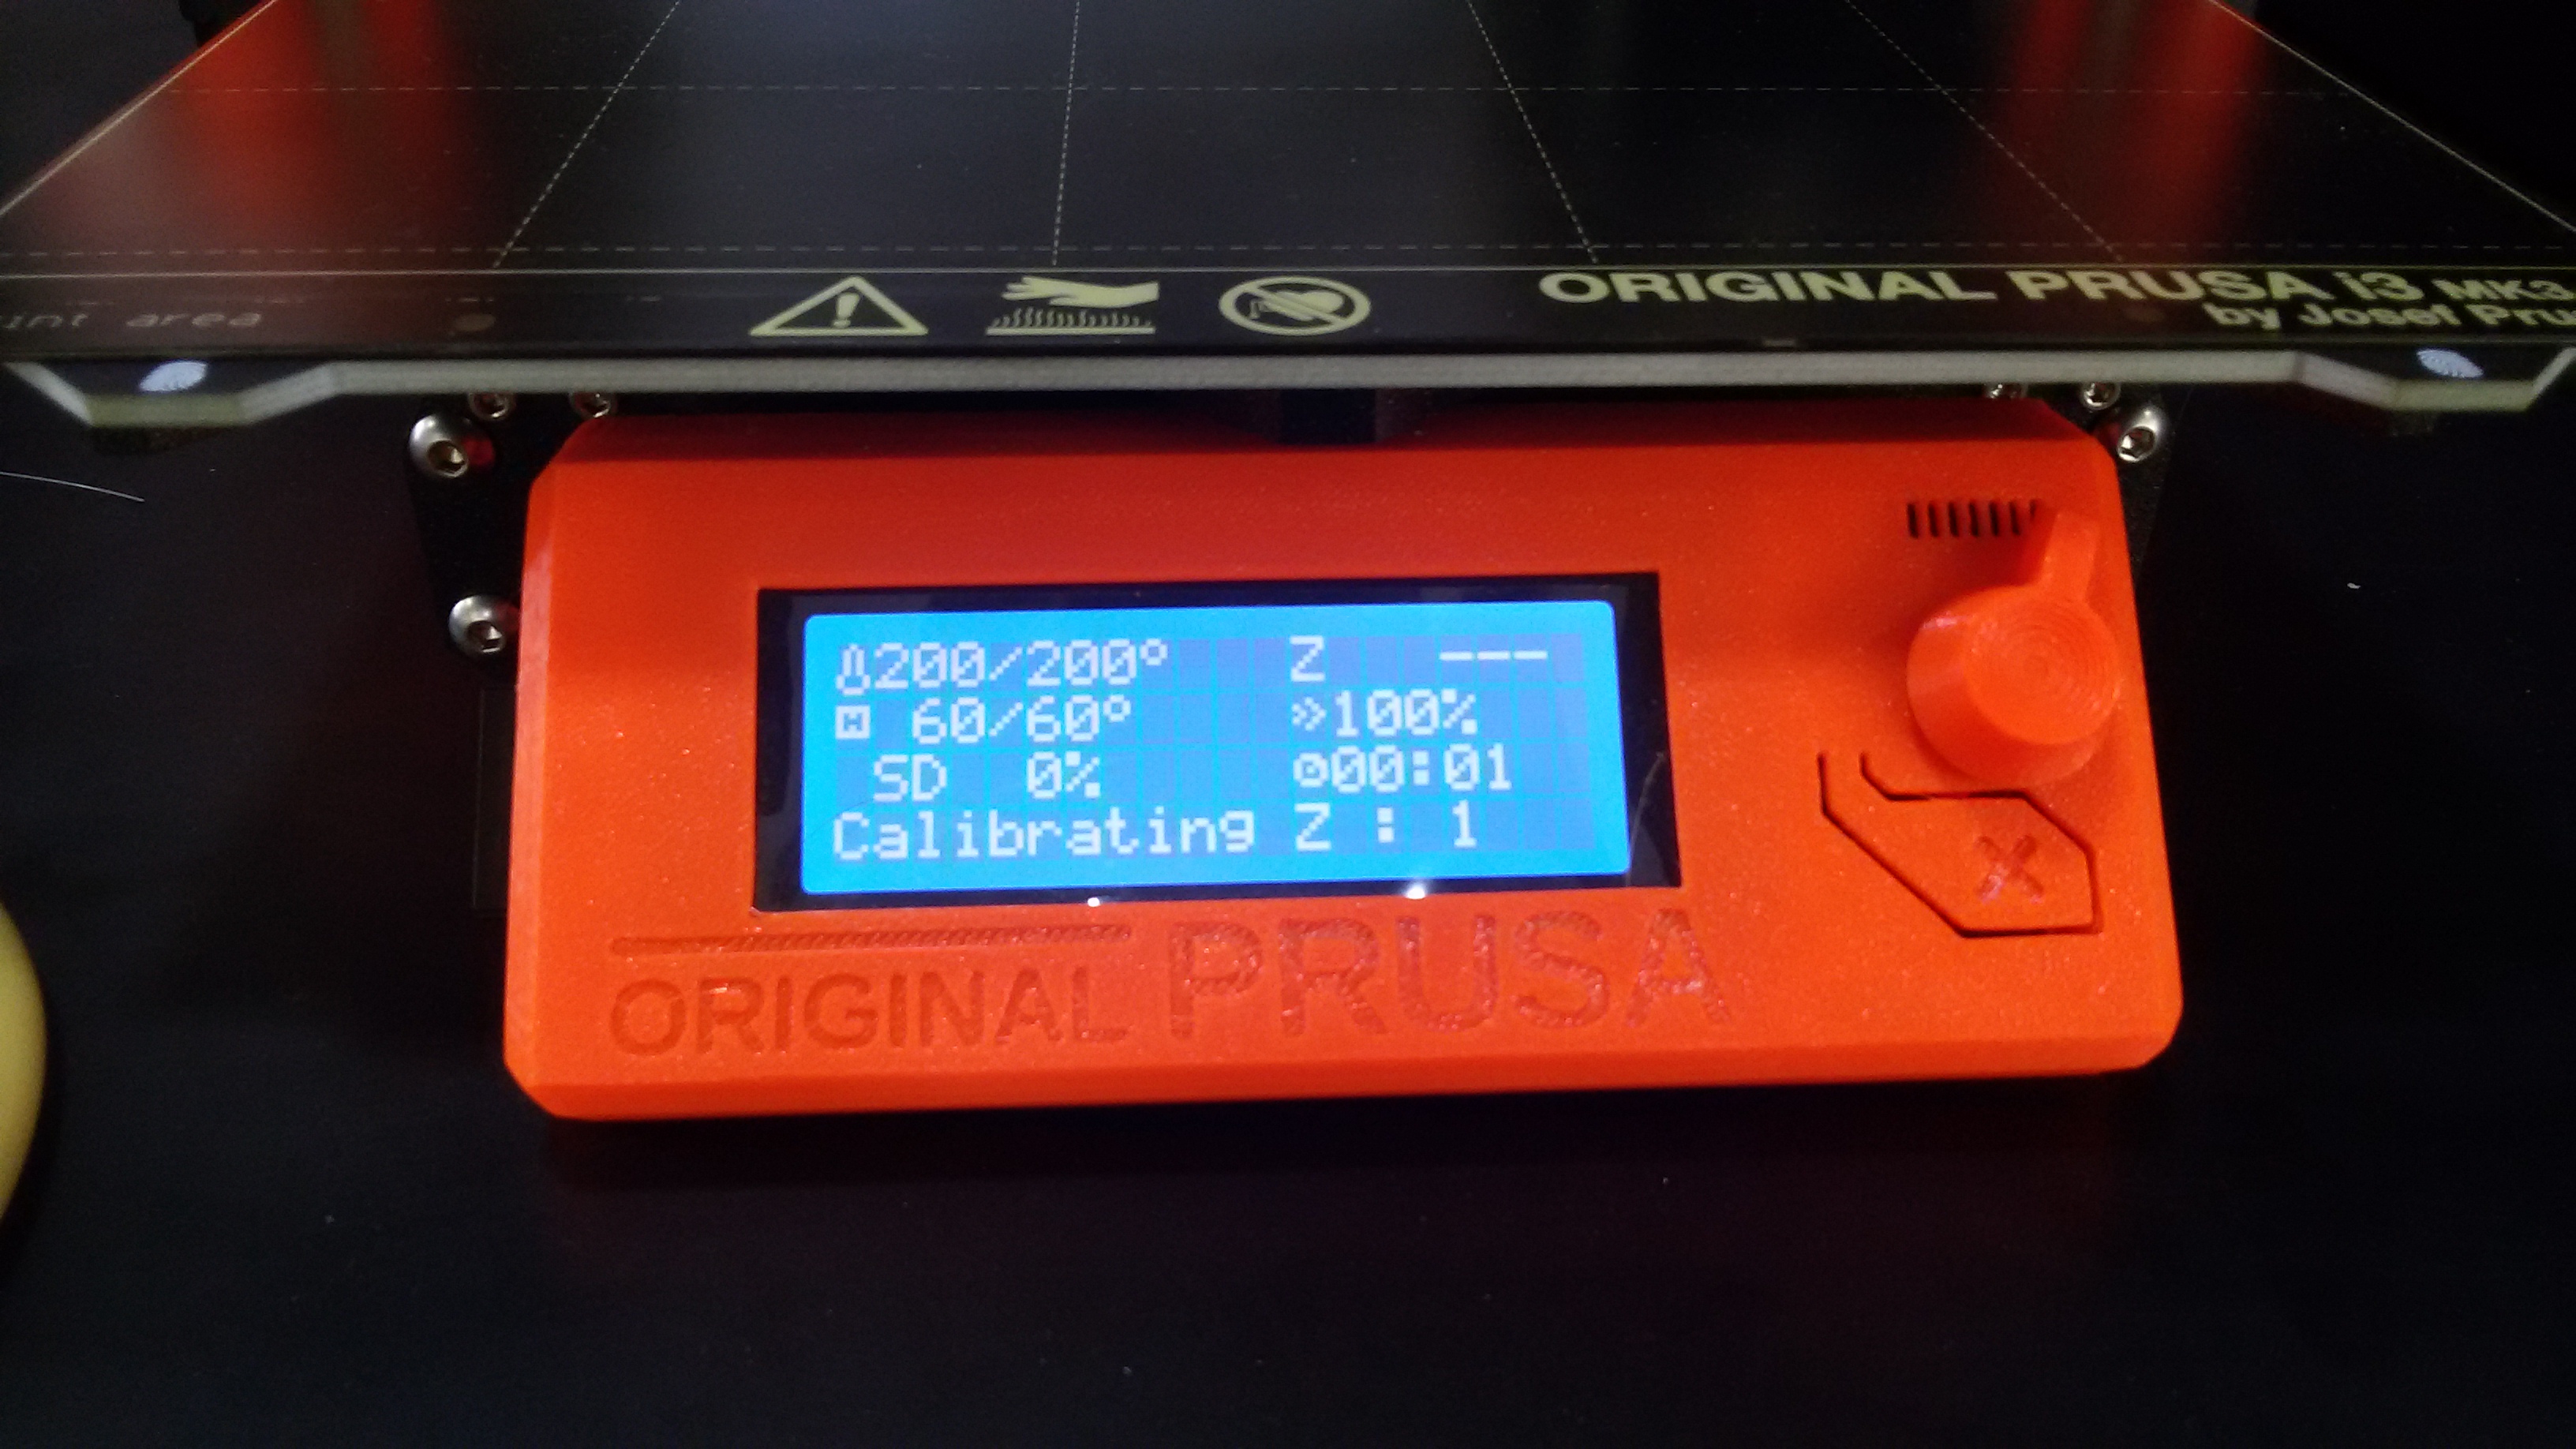
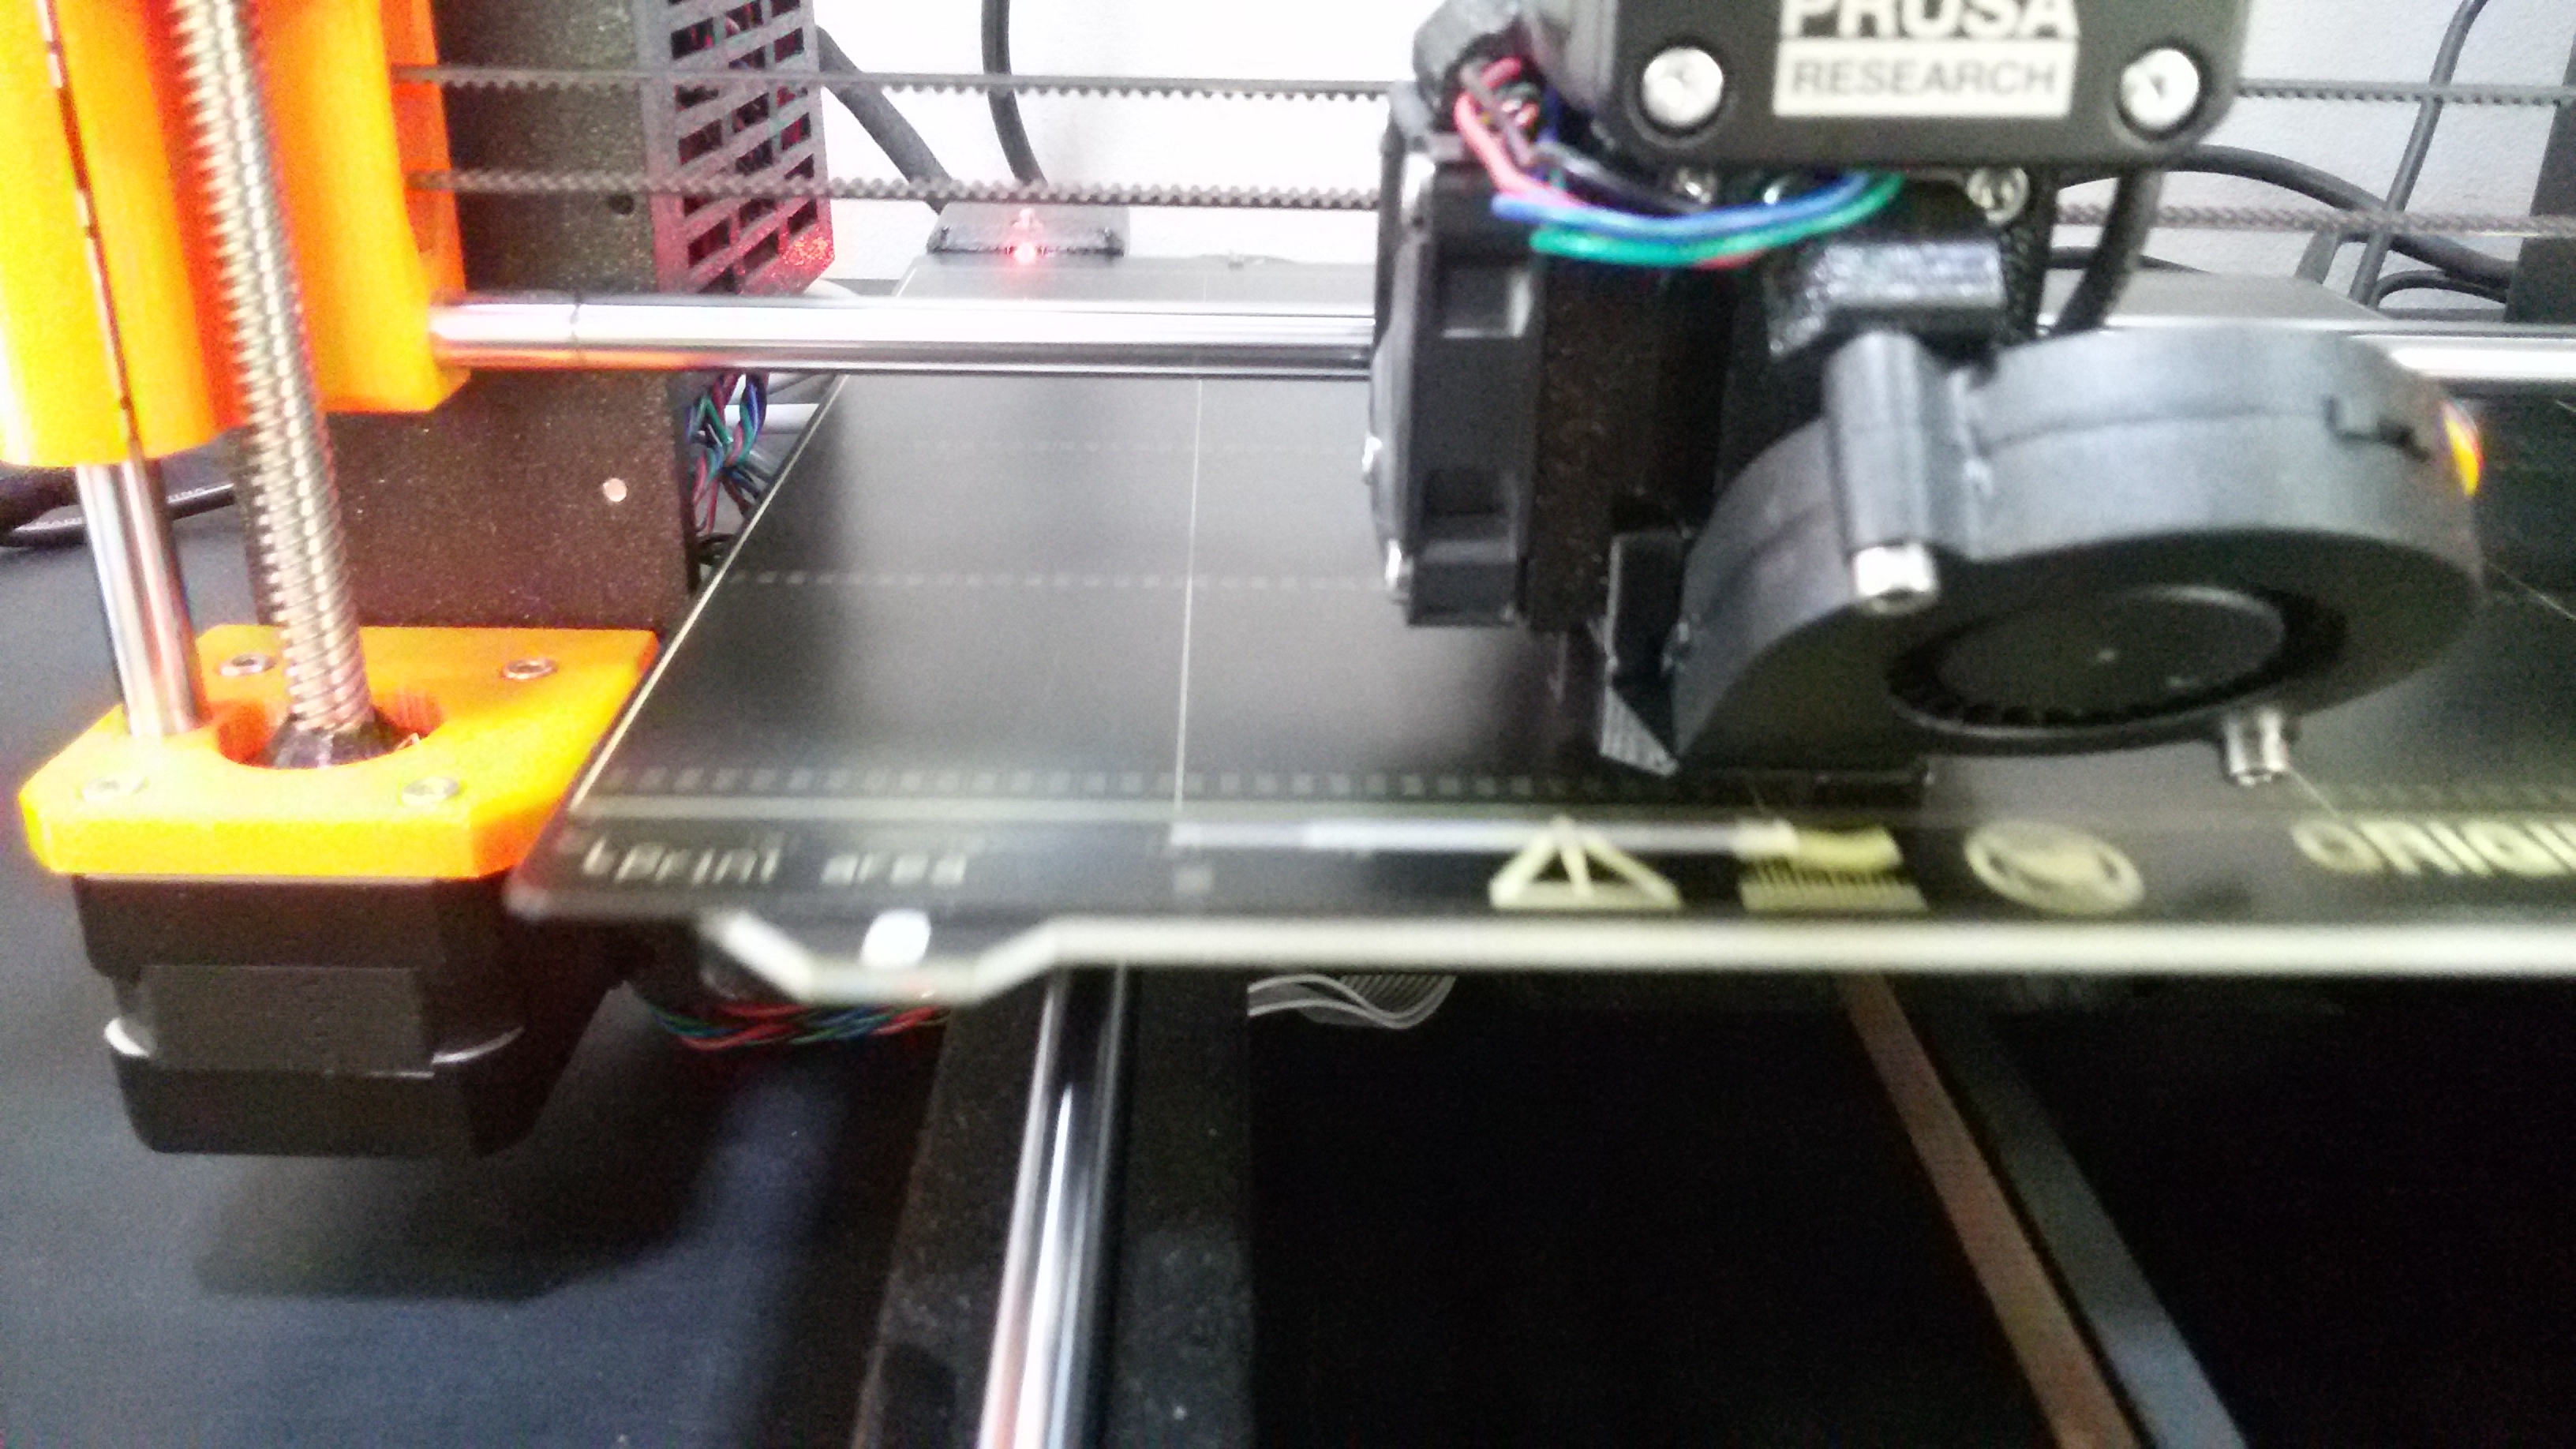
- Make sure the filament is ok
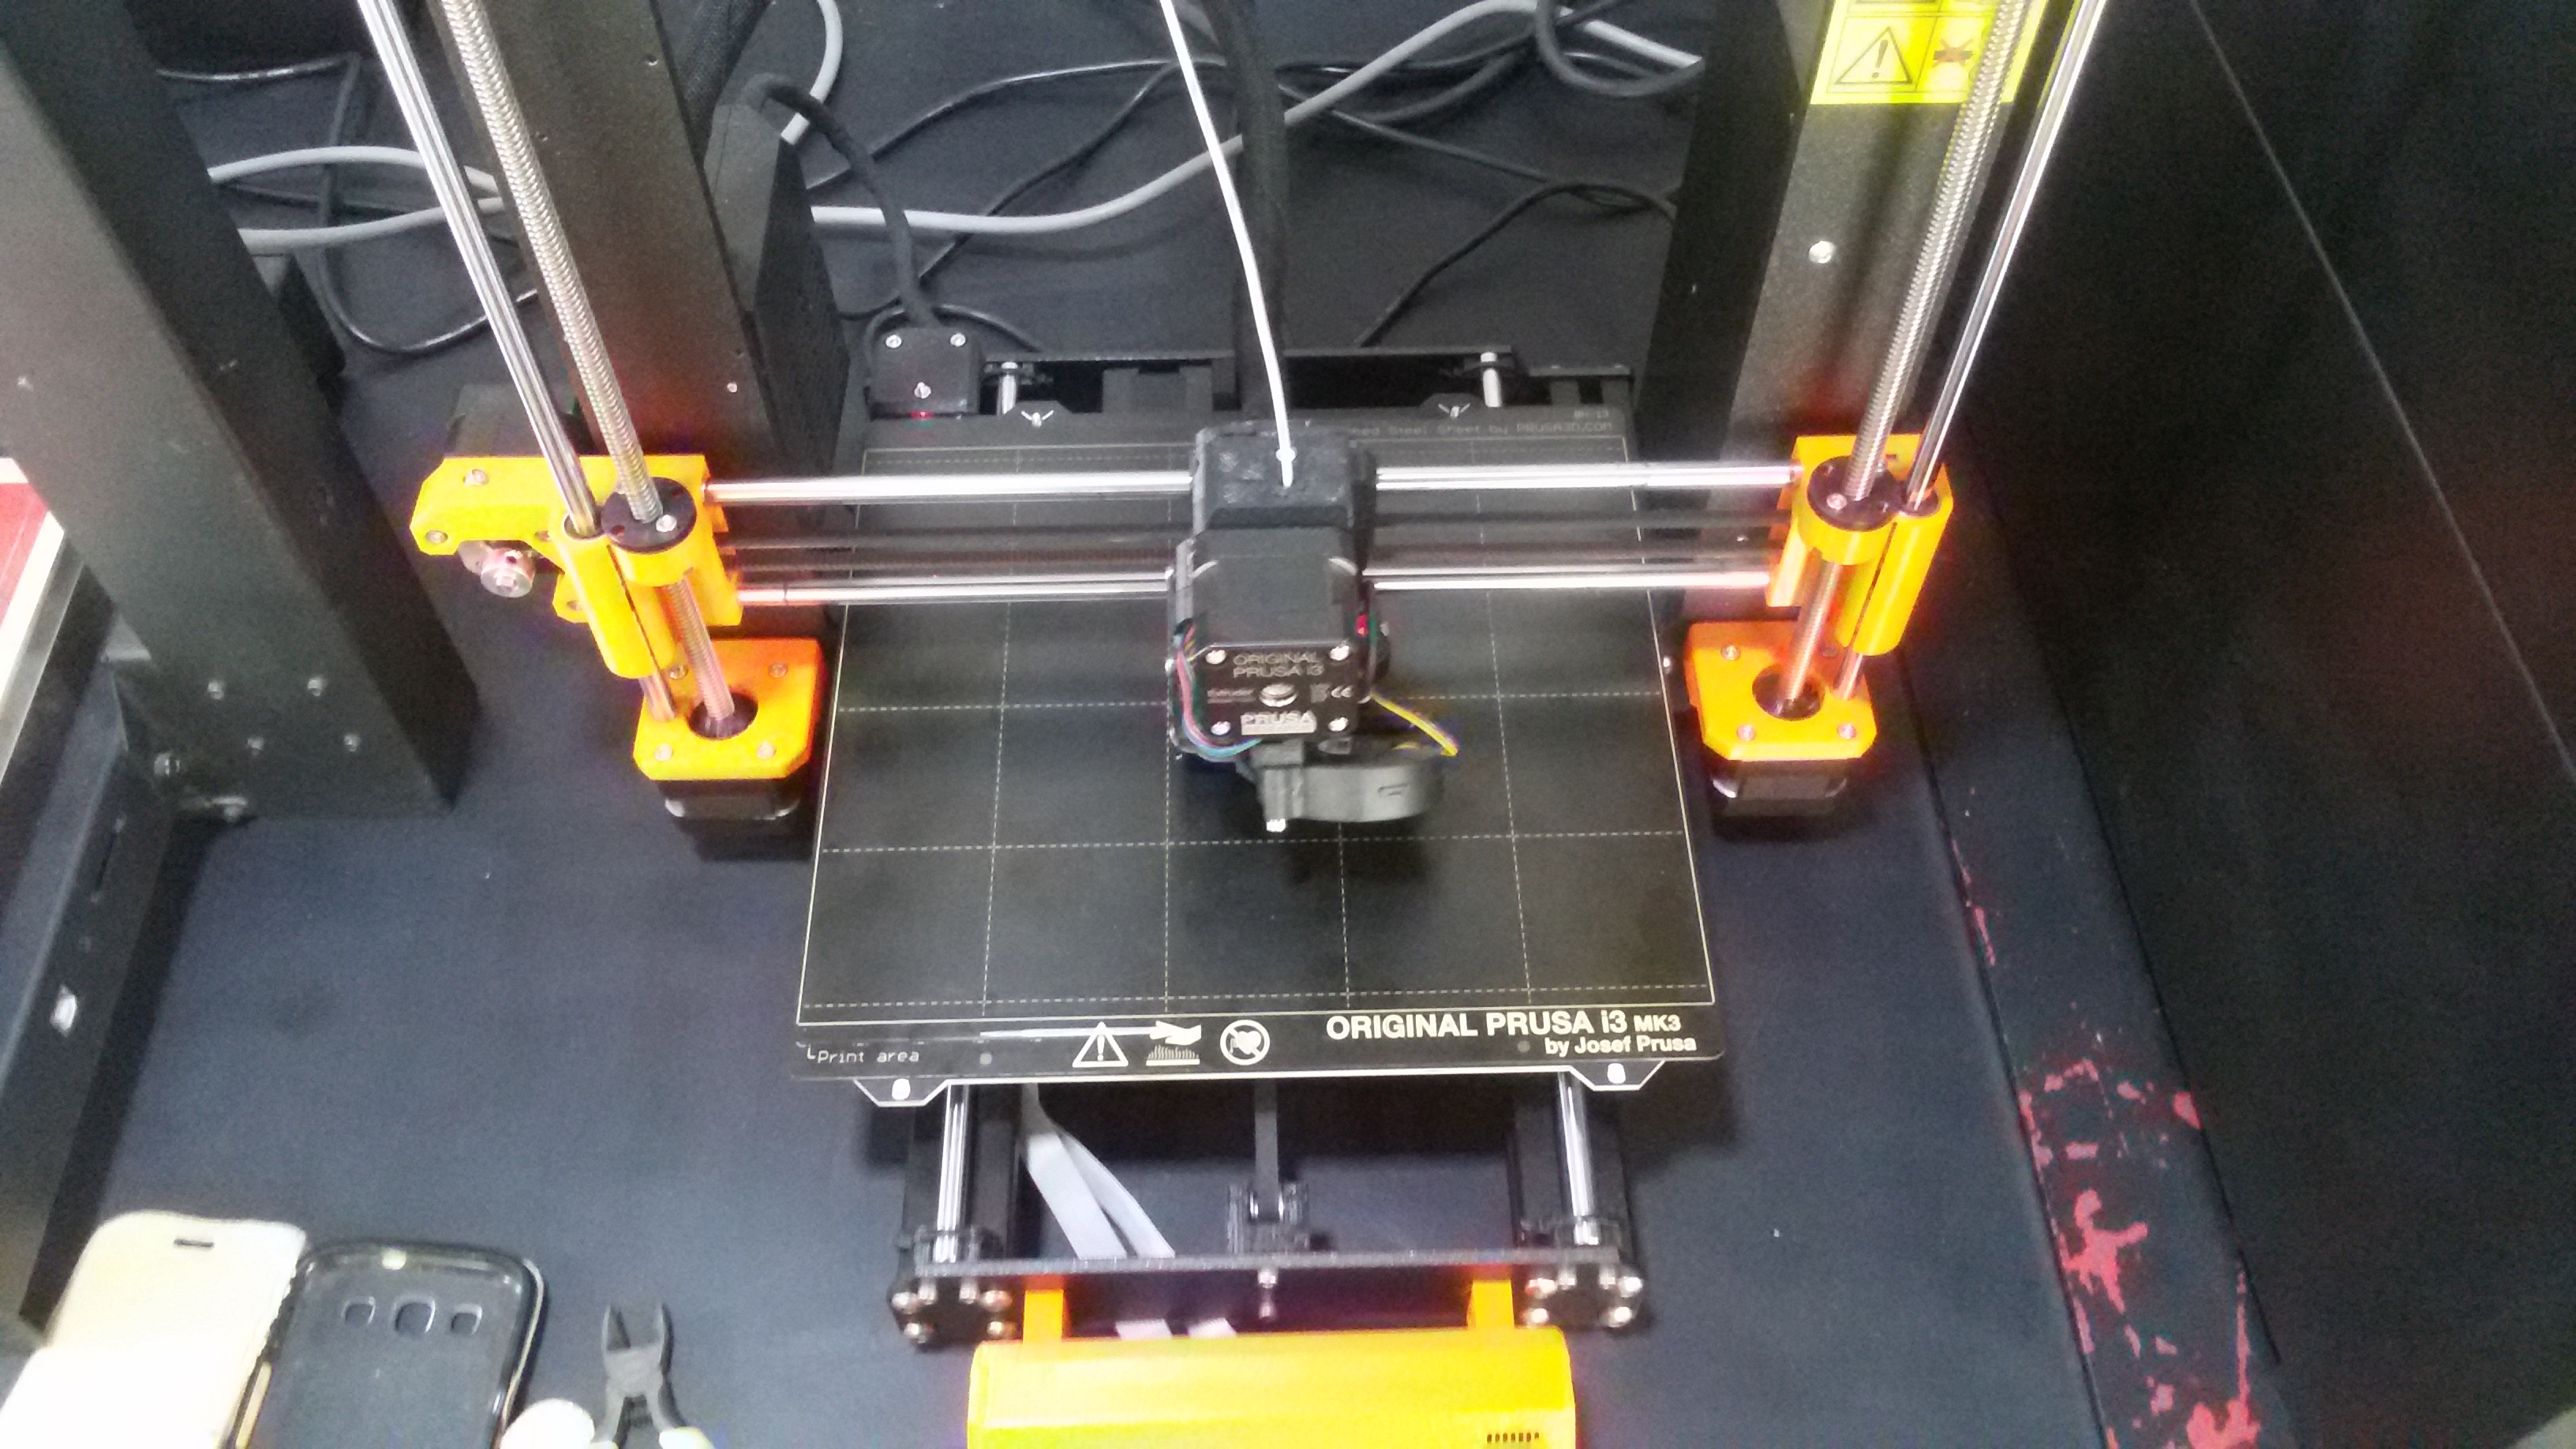
- Start Printing
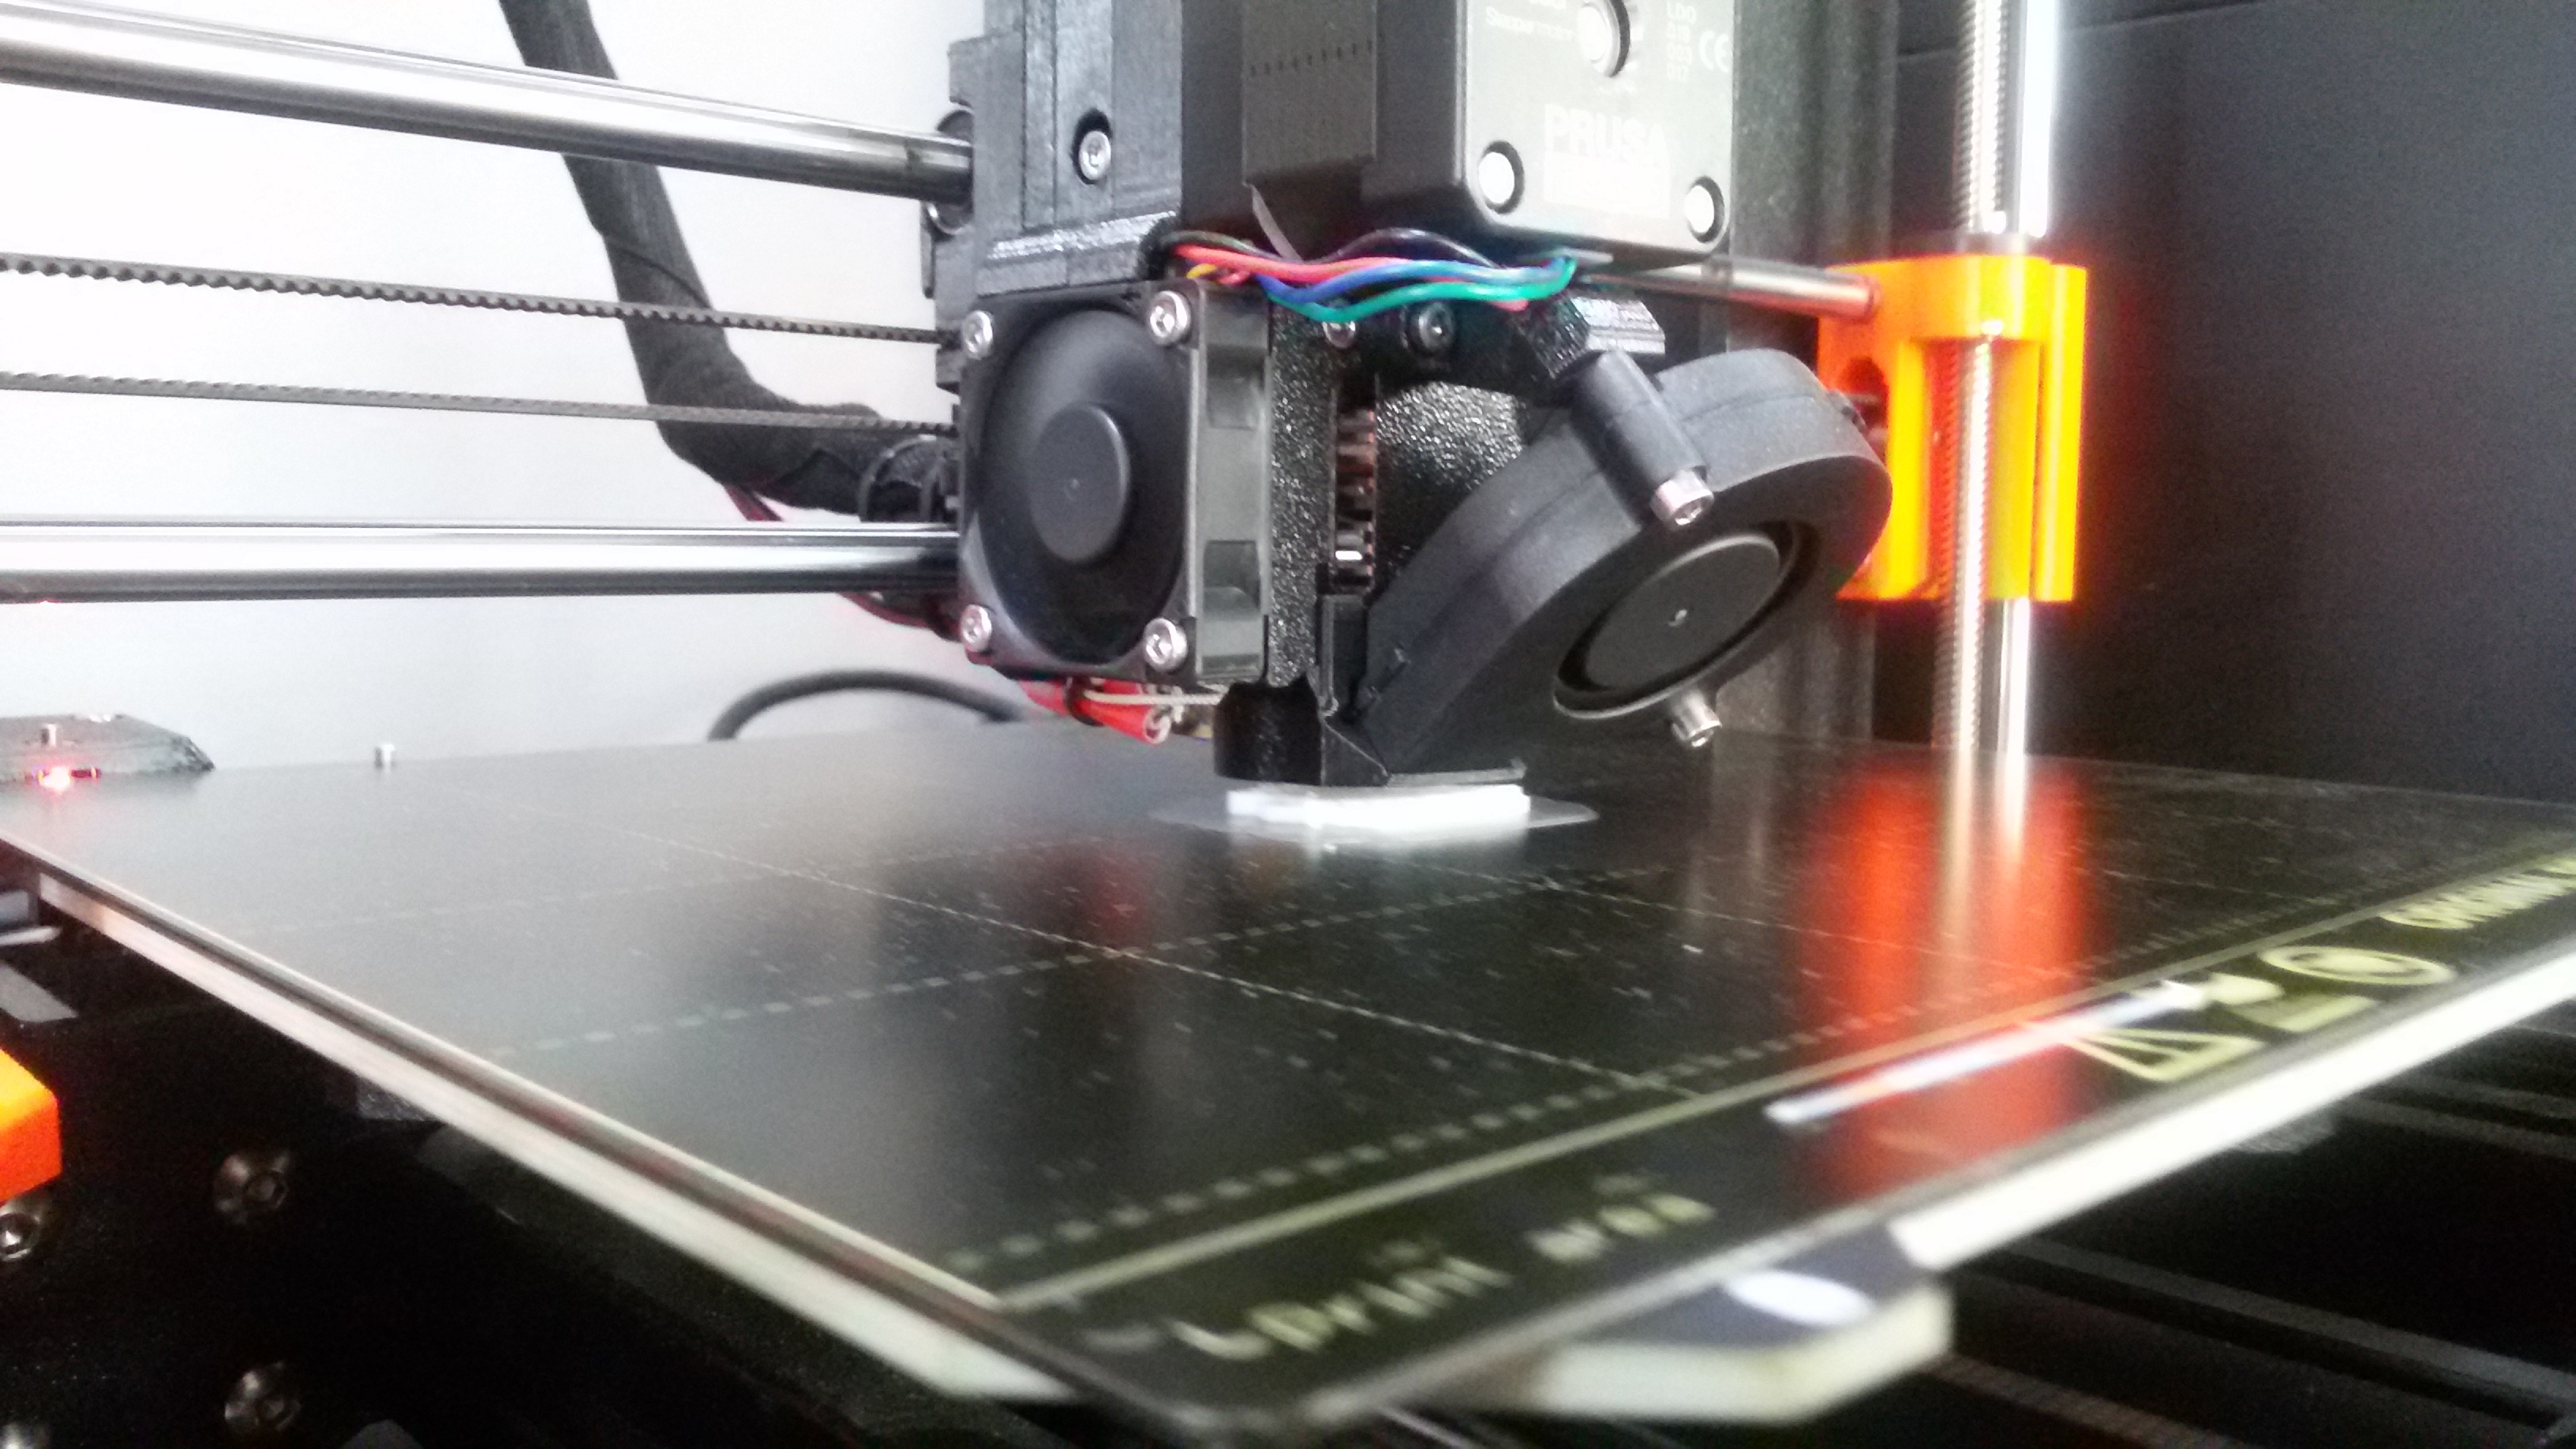
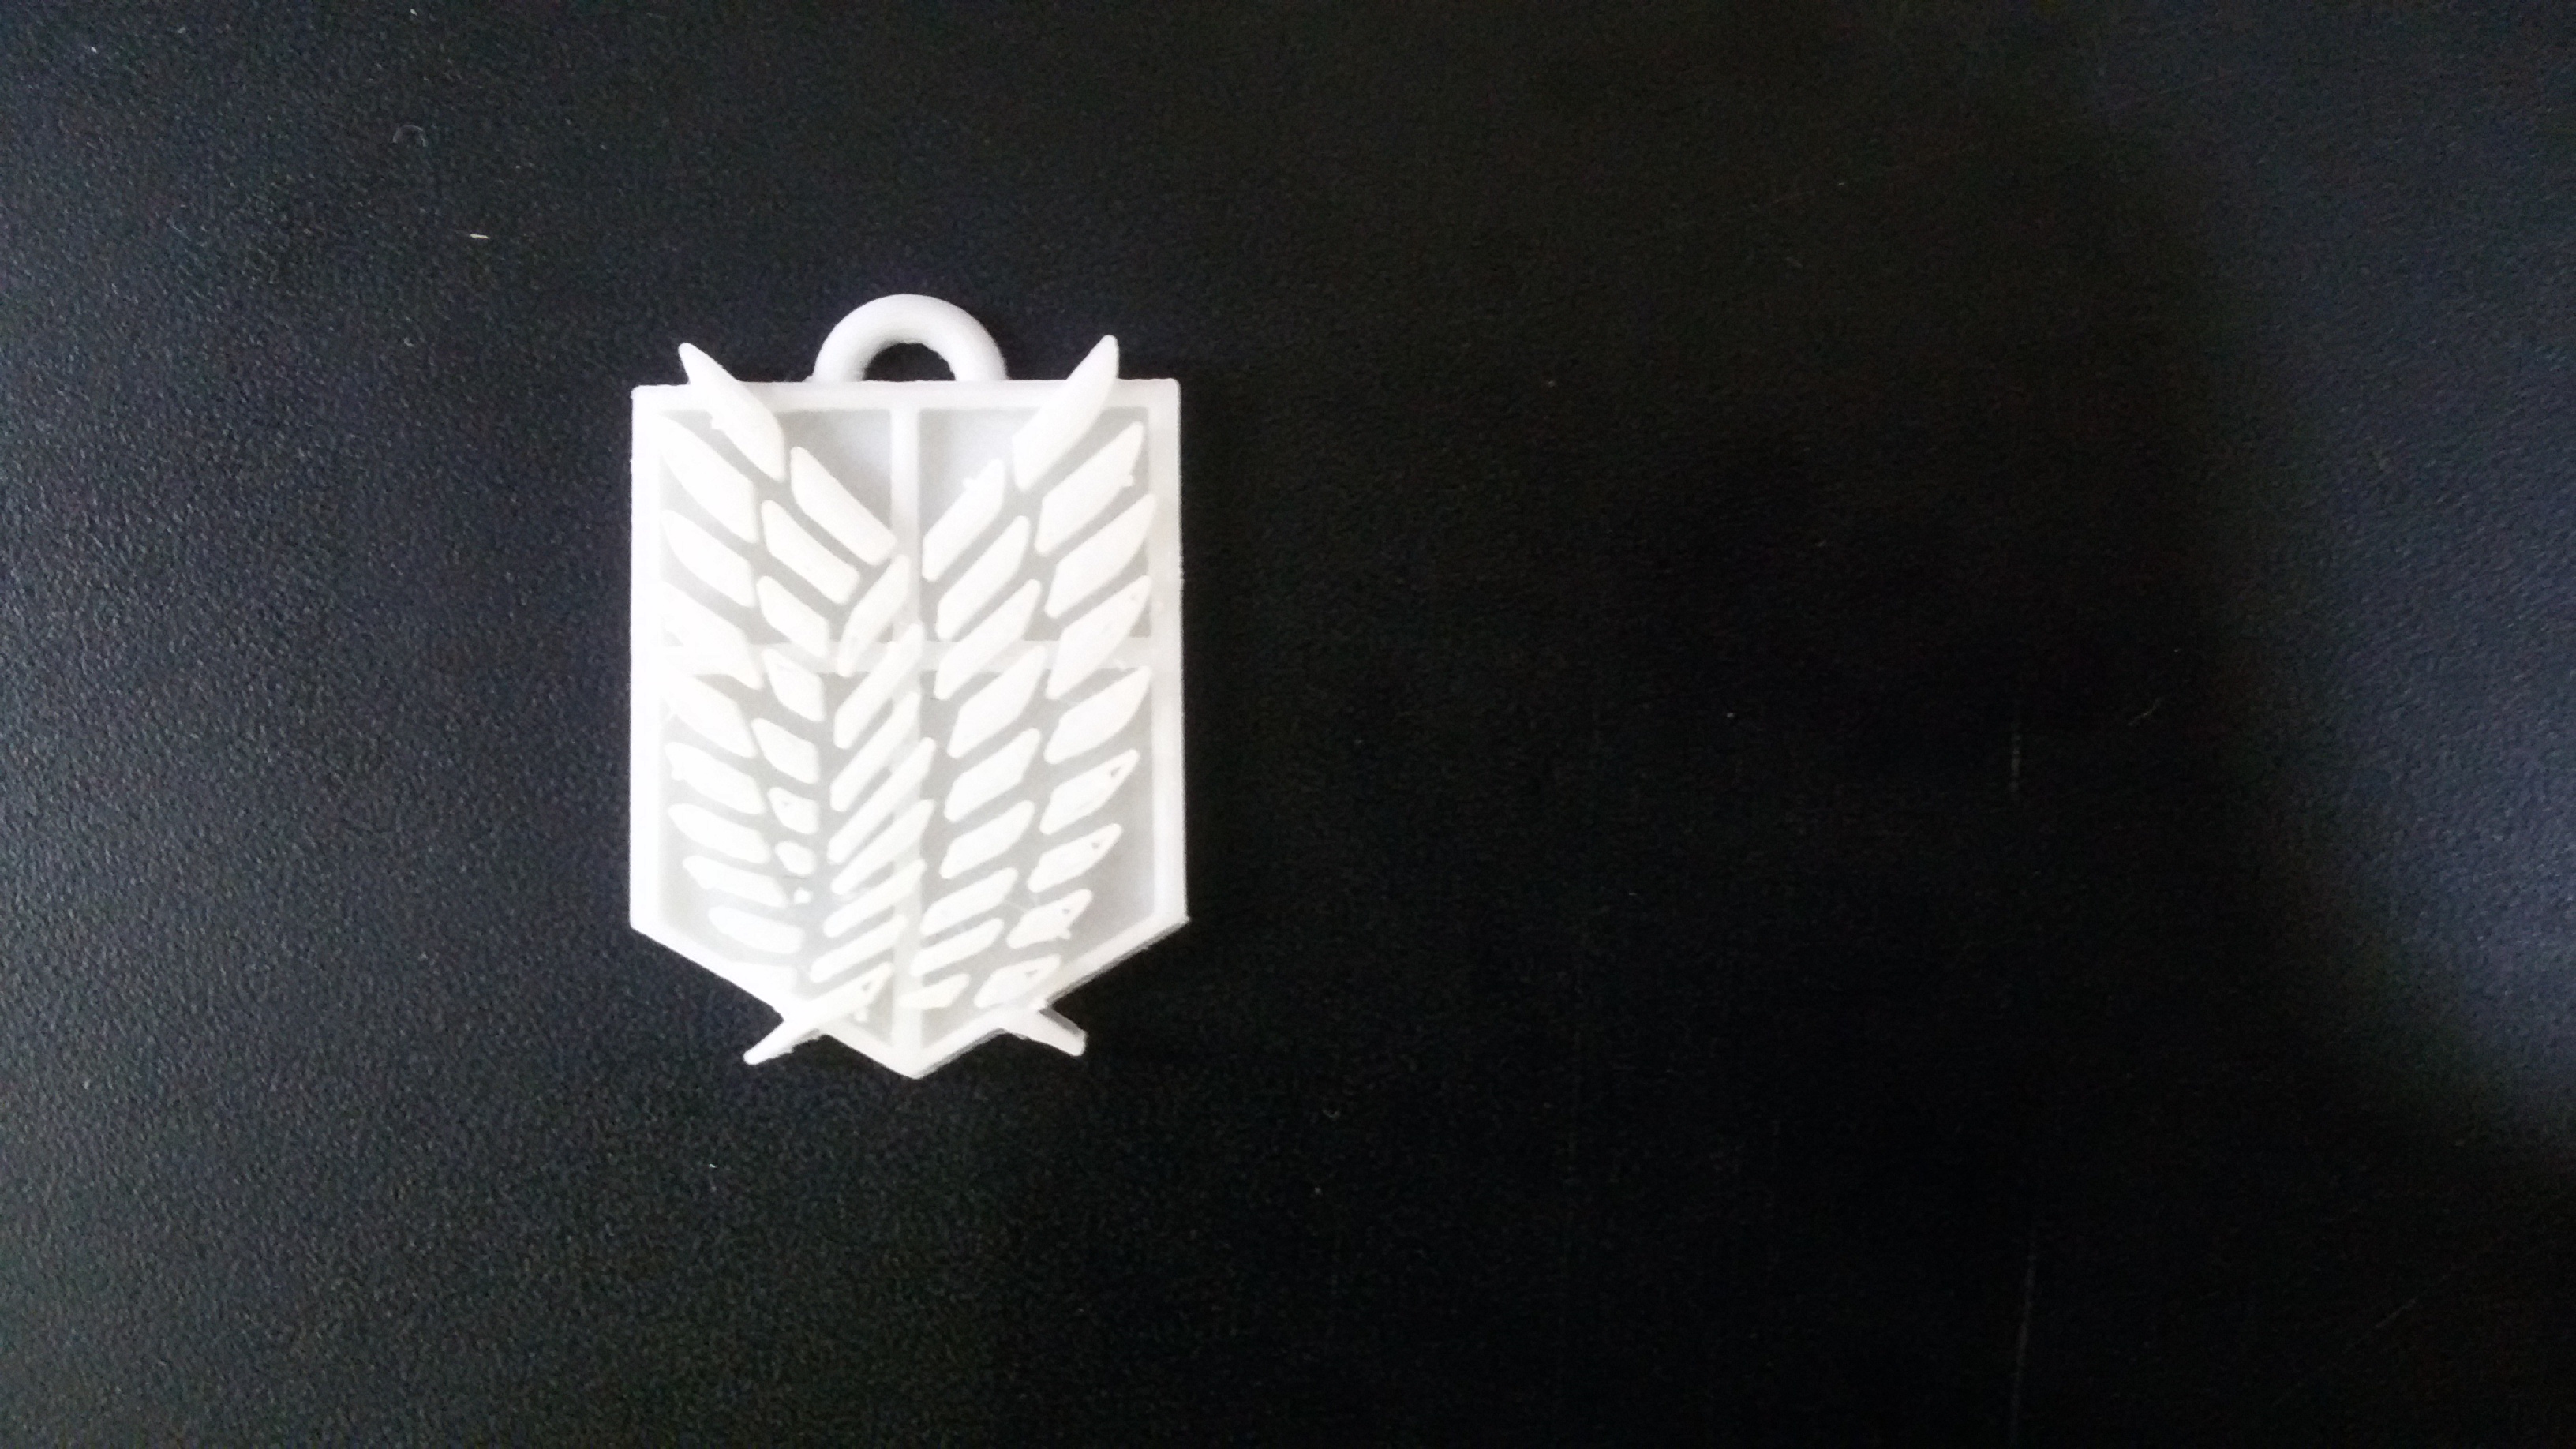
- Final Output
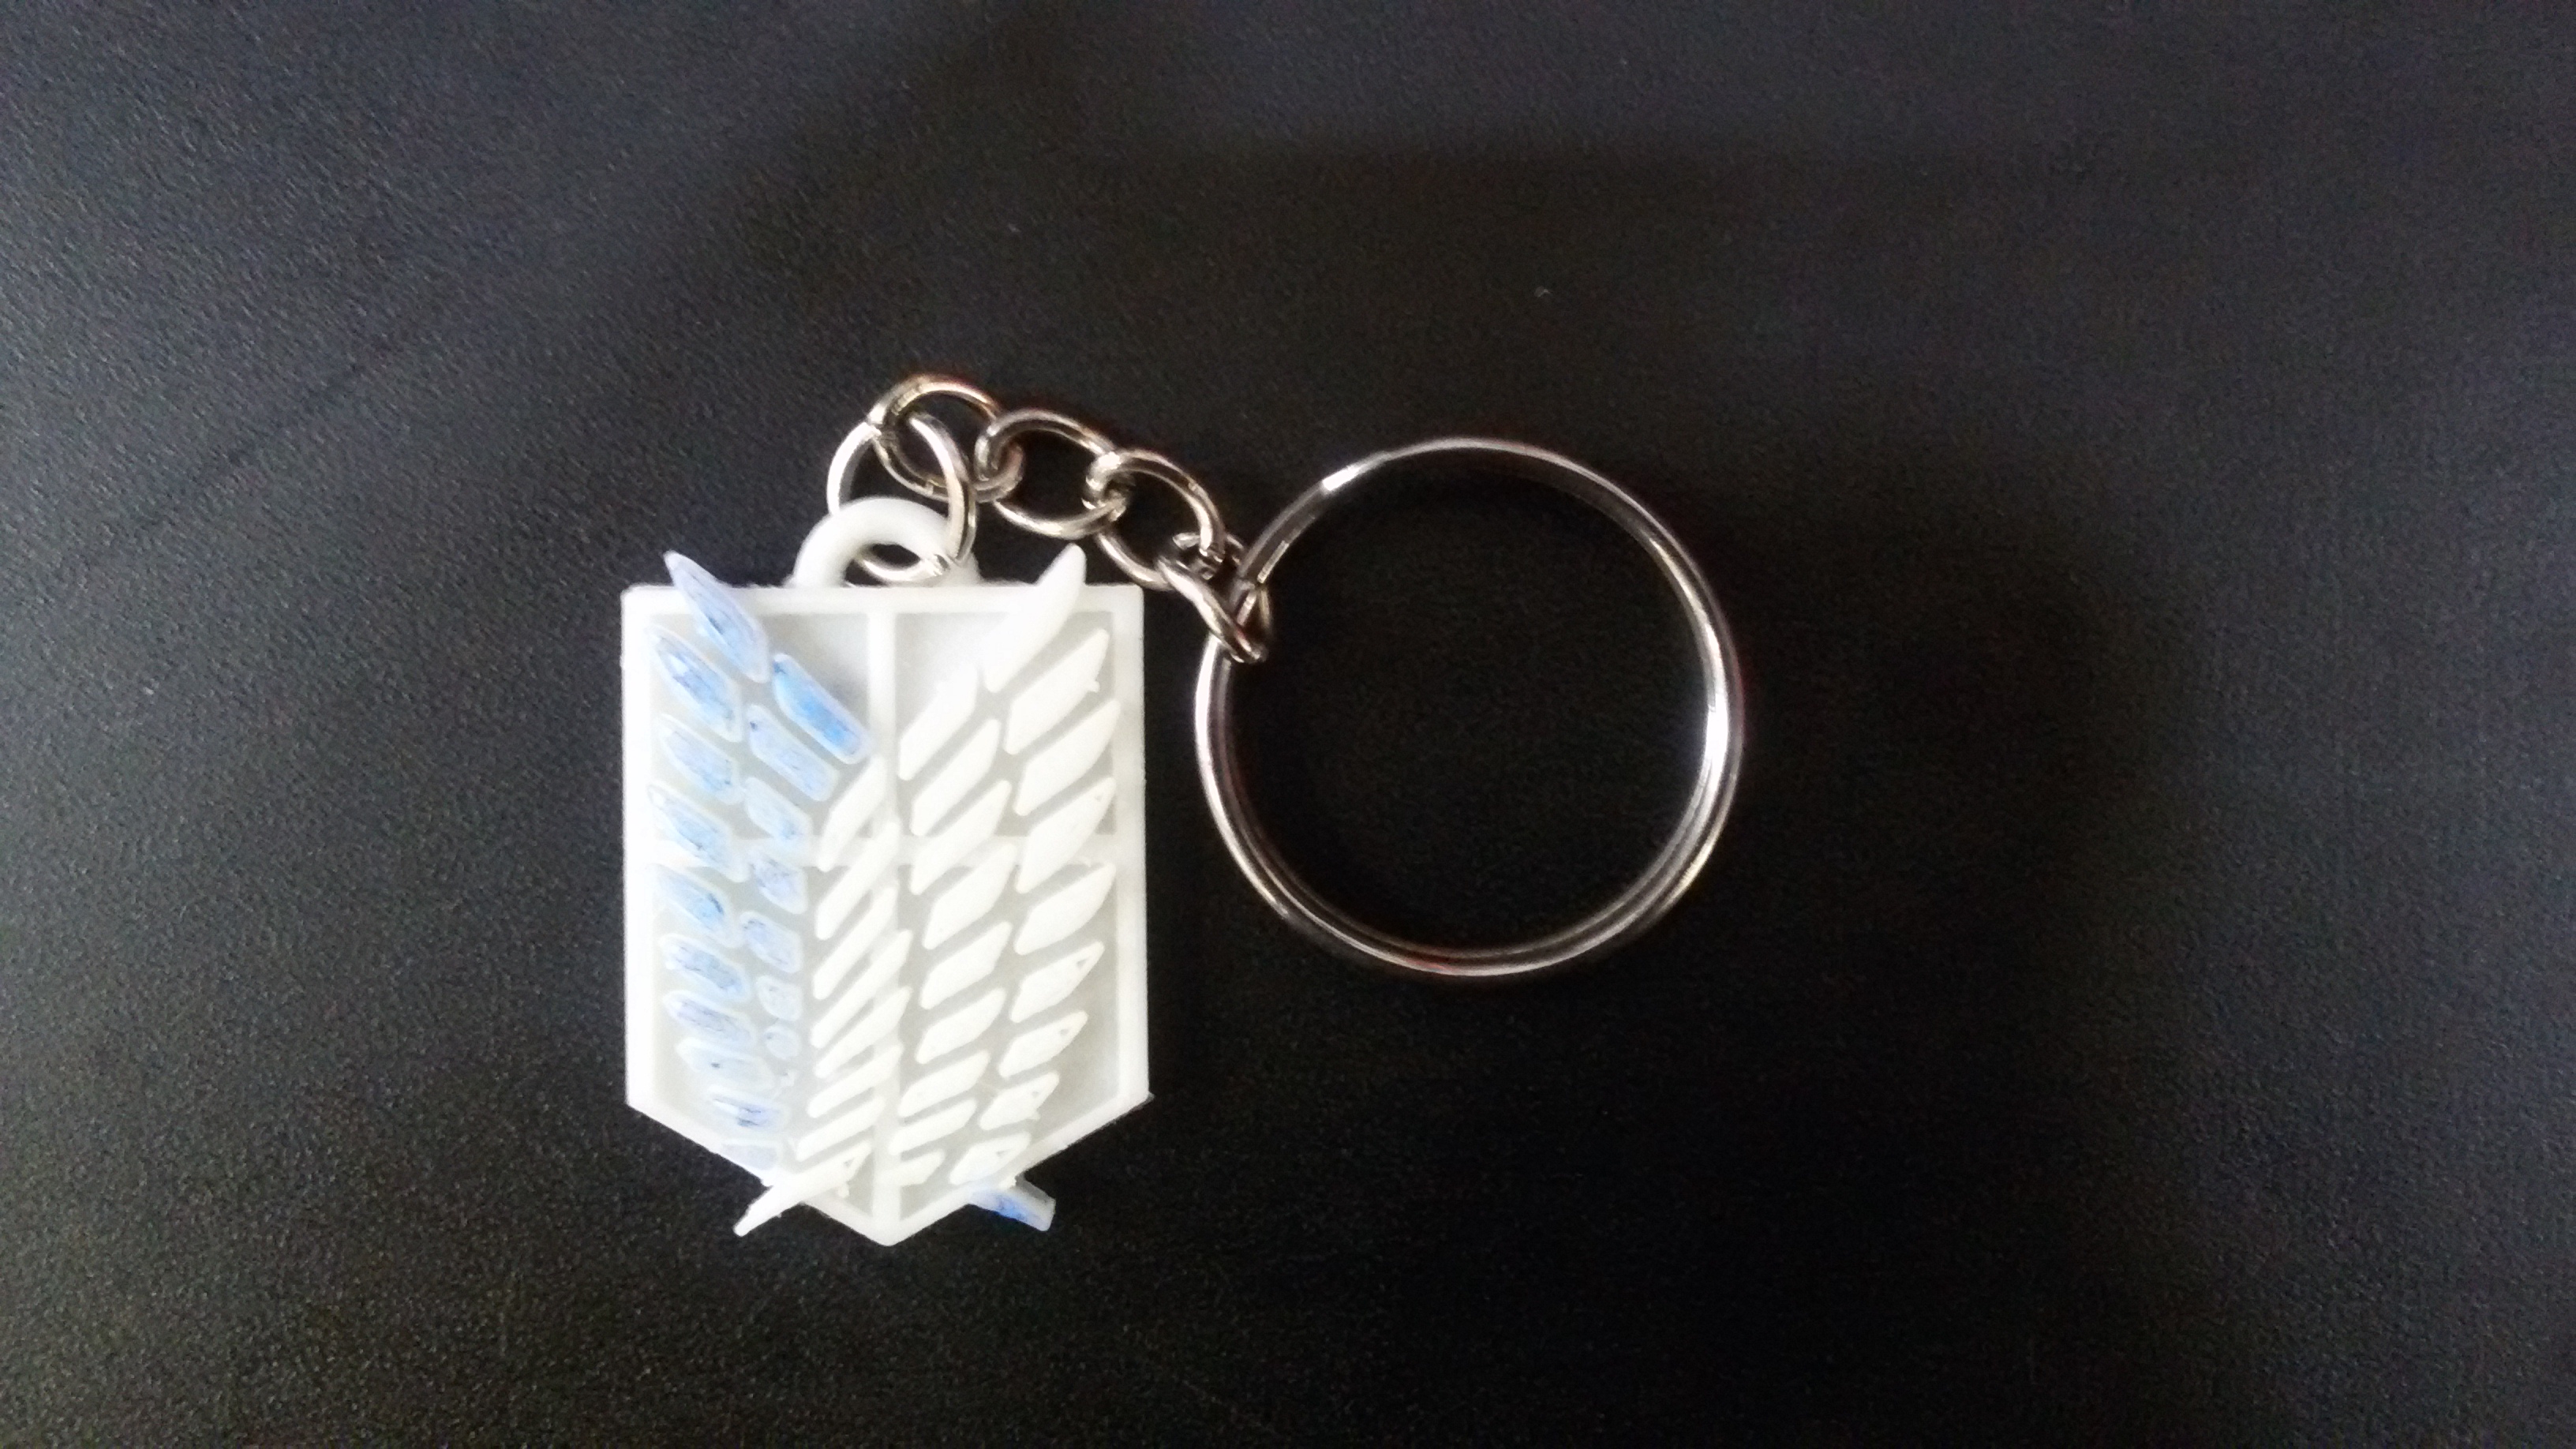
- Try to Add some colors ..
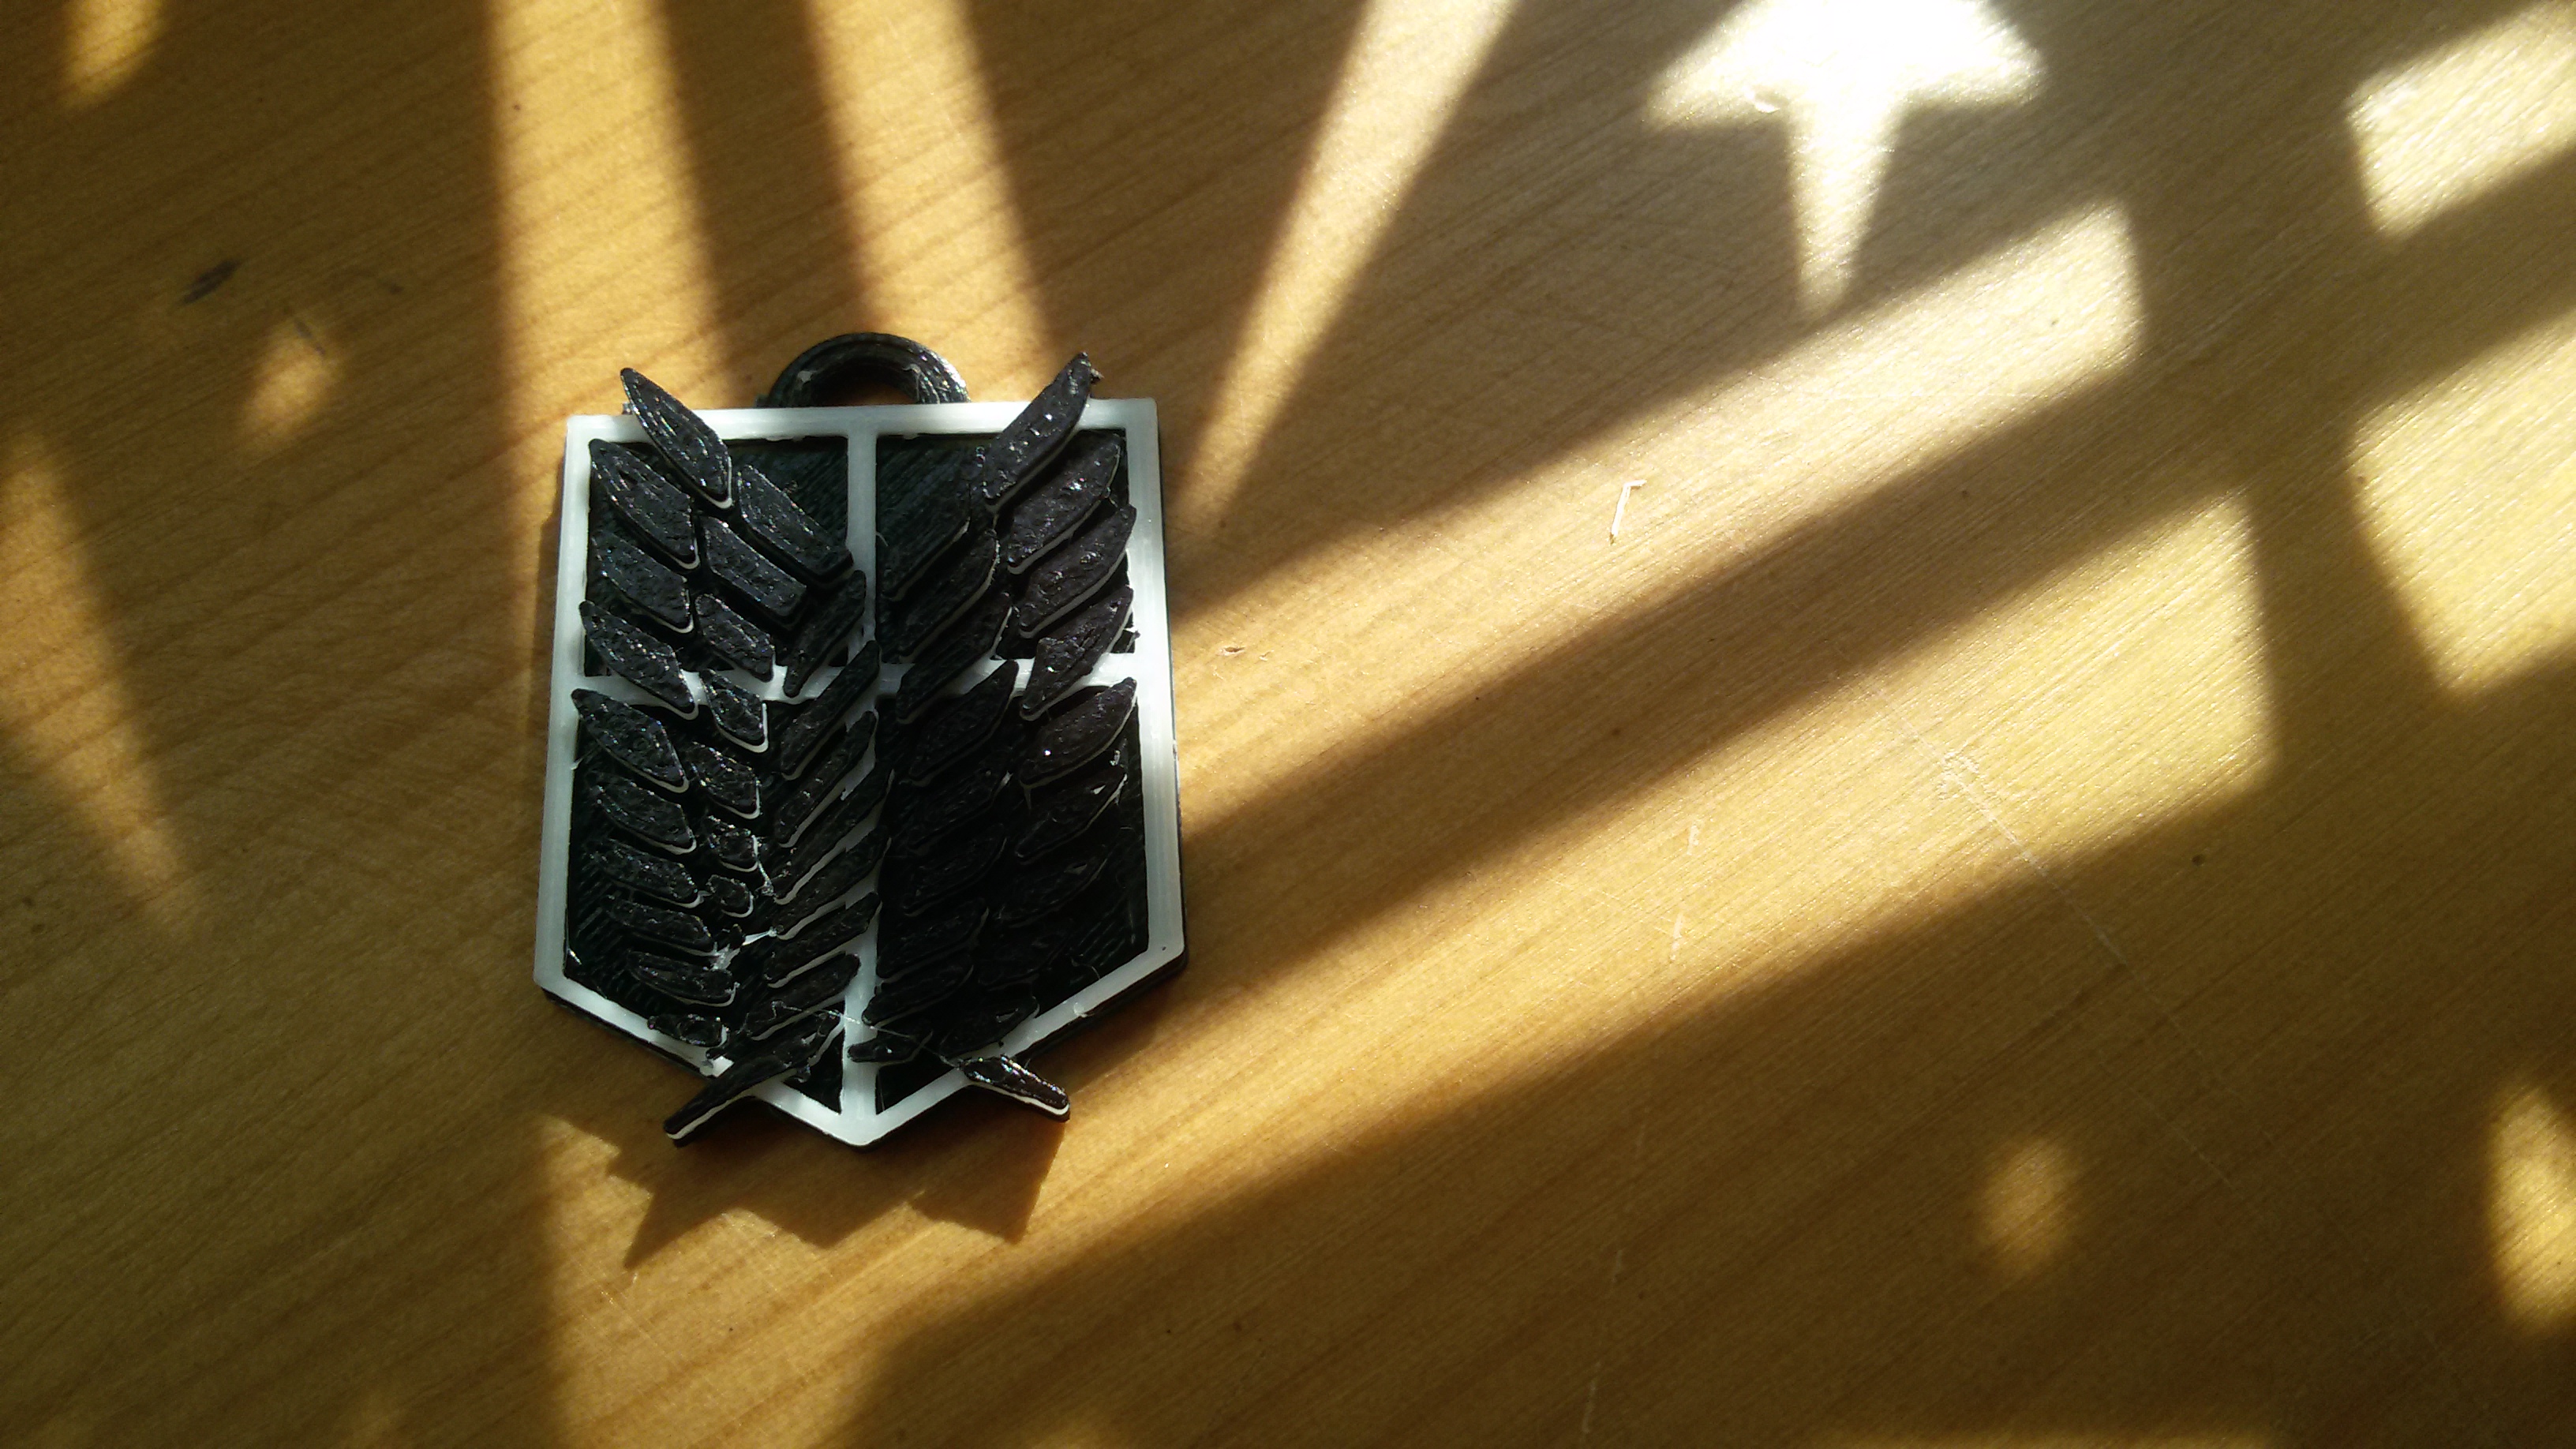
- In Prusa we have a nice feature that we can pause our printing, I use this feature to change the filament color during the printing process
- I ended up with 2 different colors to my WING OF FREEDOOM
If you will follow my steps
Do
- Take your time to learn about your 3D printer
- Learn about the calibration process
- Learn The meaning of each test
- Play with your design, if you are using Prusa try to change the filament during the process
Don't
- Use someone else design. if you have time, try to build your own
- Just know about the custom setting in cura and don't use it